
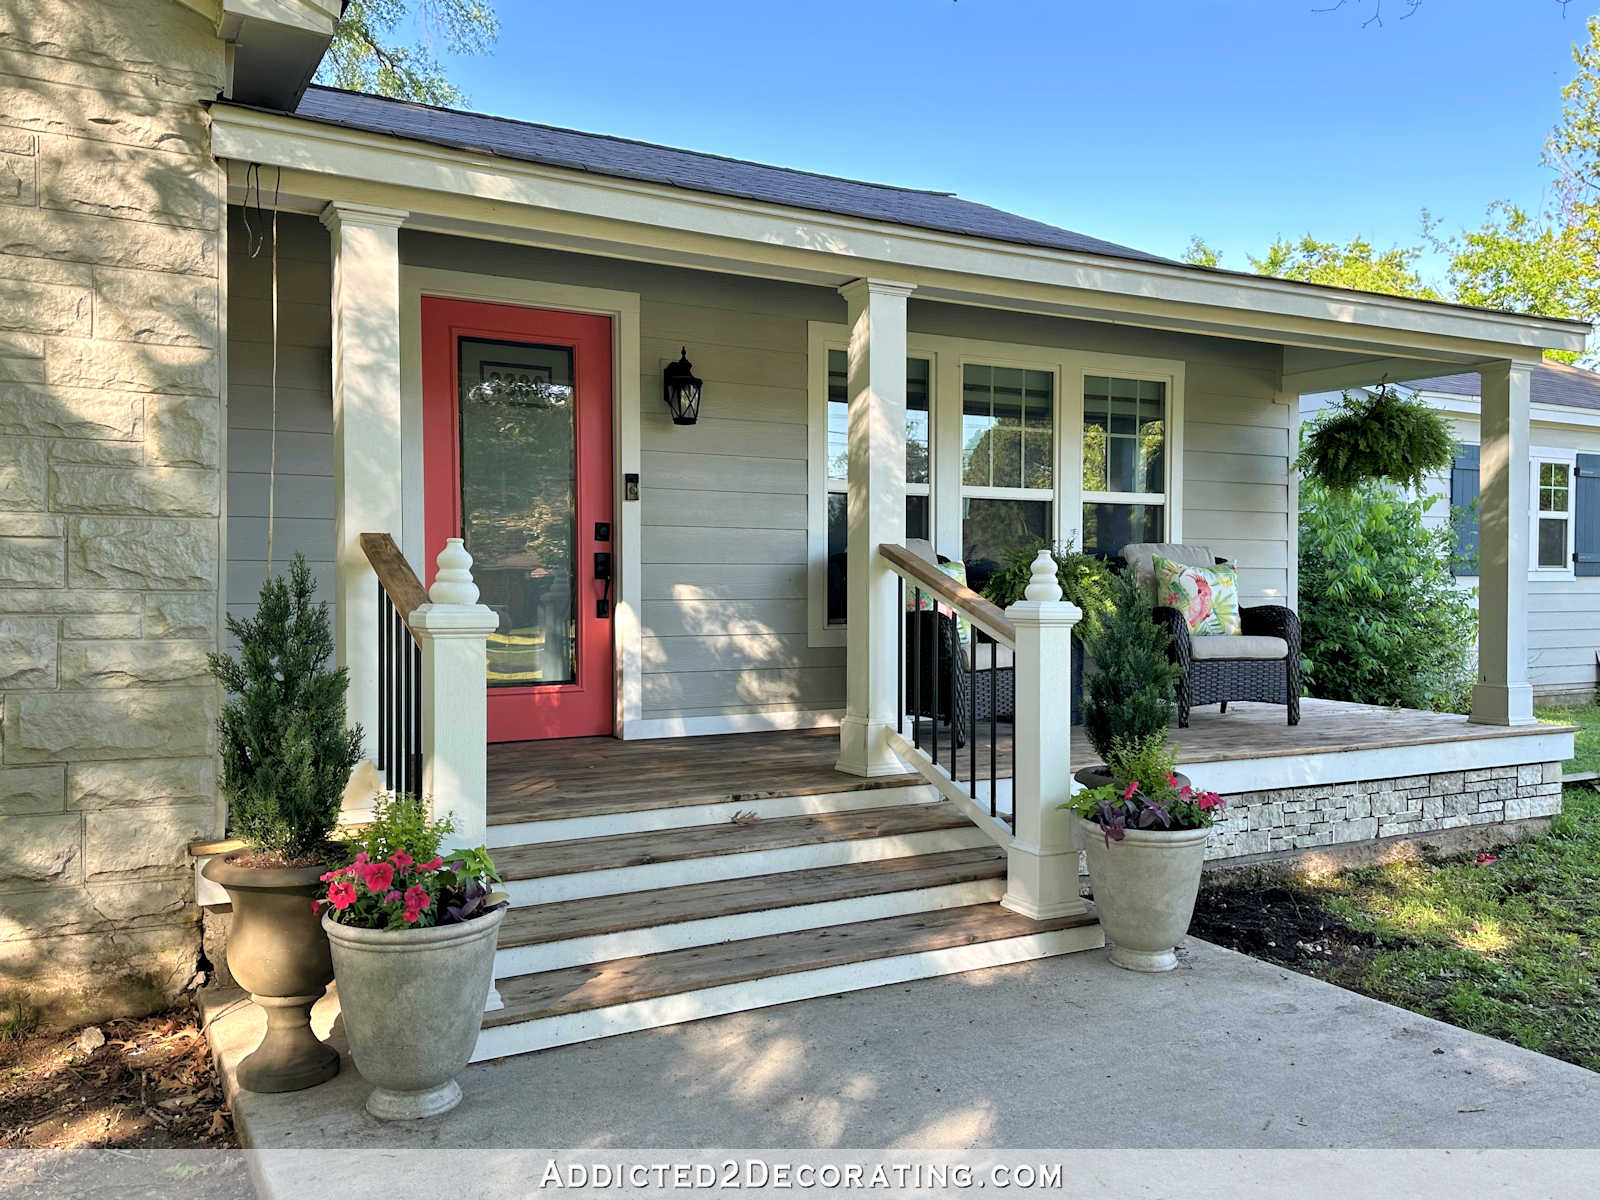
I spent yesterday testing the best way to pour my faux concrete “stones” for the front porch baseboard. This is my first time working with concrete**, so I was still feeling a little unsure about my plan. But I had watched a lot of videos on how to make molds and pour concrete, so I felt ready to move forward.
**UPDATE and correction: Wow, this was a MAJOR oversight on my part! My brother and I poured concrete countertops in my kitchen! In my defense, that was over a decade ago and I had a lot of help. I don’t think I’ve ever done another concrete project on my own without anyone here to back me up and support me, so this is still new territory for me. But wow. How could I forget about pouring concrete countertops? Anyway, moving on…
If you’ve been following me, you know that I went so far as to create my own textured silicone mats using the real stones from the front of our house and then turned those silicone mats into molds that I could use to pour my own concrete stones for the baseboard.
I tried three different times before I was successful, so let me tell you about the failures and what went wrong before I show you the success.
Test #1: Aircrete Fake Stones with Fast Curing Concrete: FAIL
I was so focused on this process that I forgot to take pictures of this first attempt. But my original idea was to make my own aircrete (which is about 50% lighter than concrete) to make my stones. I found this video very helpful that shows a very easy DIY aircrete recipe using items you probably have in your kitchen (especially if you’ve ever been on a ketogenic diet).
My only problem with the process you share is that it uses plain Portland cement to make the air concrete, and Portland cement takes a long time to cure. I was hoping to find a way to make aircrete with a quick-drying concrete formula instead of the very slow-curing Portland cement so I could do multiple pours with each of my six molds in one day.
Before trying this, I left a comment on that video asking if I thought it would work. He seems to know a lot about chemistry, while I am very ignorant on the subject. I wasn’t sure if the additional ingredients in a quick drying formula would negatively interact or counteract the aircrete formula. In fact, he responded within minutes and said he thought it might work as long as the quick-drying mix contained no additives.
Unfortunately, as far as I know, there is no quick-drying cement mix without aggregate. The closest thing I could find at my local Home Depot is Rapid Set Cement All, which uses super fine sand as aggregate. So I decided to try it.
Rapid Set Cement All, when mixed with water as directed, sets in 15 minutes and is supposed to cure in about an hour. But again, that’s when mixed with plain water. But I tried it mixed with the aircrete liquid formula in the video.
It didn’t work. Or I guess it would be more accurate to say that it probably would have worked if I had given it more time to cure, but by giving it two hours to dry, it had only reached the consistency of a firm, moist beach sand, kind of like the consistency you’d like to build a sand castle on the beach. So, Aircrete’s liquid formula definitely negated the fast curing feature of Rapid Set Cement All, and that’s exactly the feature I needed.
So, at that point, I was left with two options. I could use the exact aircrete formula using plain Portland cement, which would allow me to pour six stones per day, or I could simply use Rapid Set Cement All and mix according to the instructions (i.e. using plain water) and be able to pour several stones per mold per day. I decided to opt for the second option.
Test #2: Fast Setting Cement, All Textured Backing: FAIL
On my next attempt, I followed the instructions for mixing Rapid Set Cement All, which is about one part water to four parts Cement All. I mixed it in a very small batch, just enough to fill my mold, and then poured it into the mold. It started to set very quickly (in less than 10 minutes), so I had high hopes.
But since I knew I was going to adhere these faux stones to the baseboard area of my front porch, I thought it might help the adhesion by adding some texture to the back of the stone. I did this using my knife and just barely ran the blade over the surface of the concrete.

That ended up being a mistake. And then I made a second rookie mistake, again, because I had never worked with concrete before (correction: yes, but it’s been over a decade). I gave it the time the instructions say and it felt very hard to the touch. But I noticed that it still felt very hot, meaning that the chemical reaction that cures concrete was still happening. But I was anxious, so I ignored it and tried to unmold the stone.
As I removed the stone from the mold, it split in two just below the line shown by the arrow below.

Since I was broke, I decided to test the strength of the Cement All at that point, so I picked up the two large pieces and dropped them on the concrete, and it continued to break. From the front, they looked like random breaks.

But these weren’t random breakups. When I turned the pieces over, I could see that the tears on the back were exactly along the texture lines I had made on the back.

You can see here that I didn’t even make those texture lines very deep, but they definitely affected the integrity of the concrete.

So this was a very useful test and a very important learning experience for a concrete newbie like me. The first important lesson is to never remove concrete from a mold if it is still hot to the touch, even if you have waited as long as the instructions say. As long as it is hot, the concrete will continue to cure. You have to wait until that heat has completely dissipated before unmolding. The second important lesson is that you shouldn’t mess with the back, probably especially with something as thin as 3/4″ fake stones.
With the new knowledge gained from this second failed attempt, I was ready to try a third time.
Test #3: Fast Setting Cement, all over again: SUCCESS!
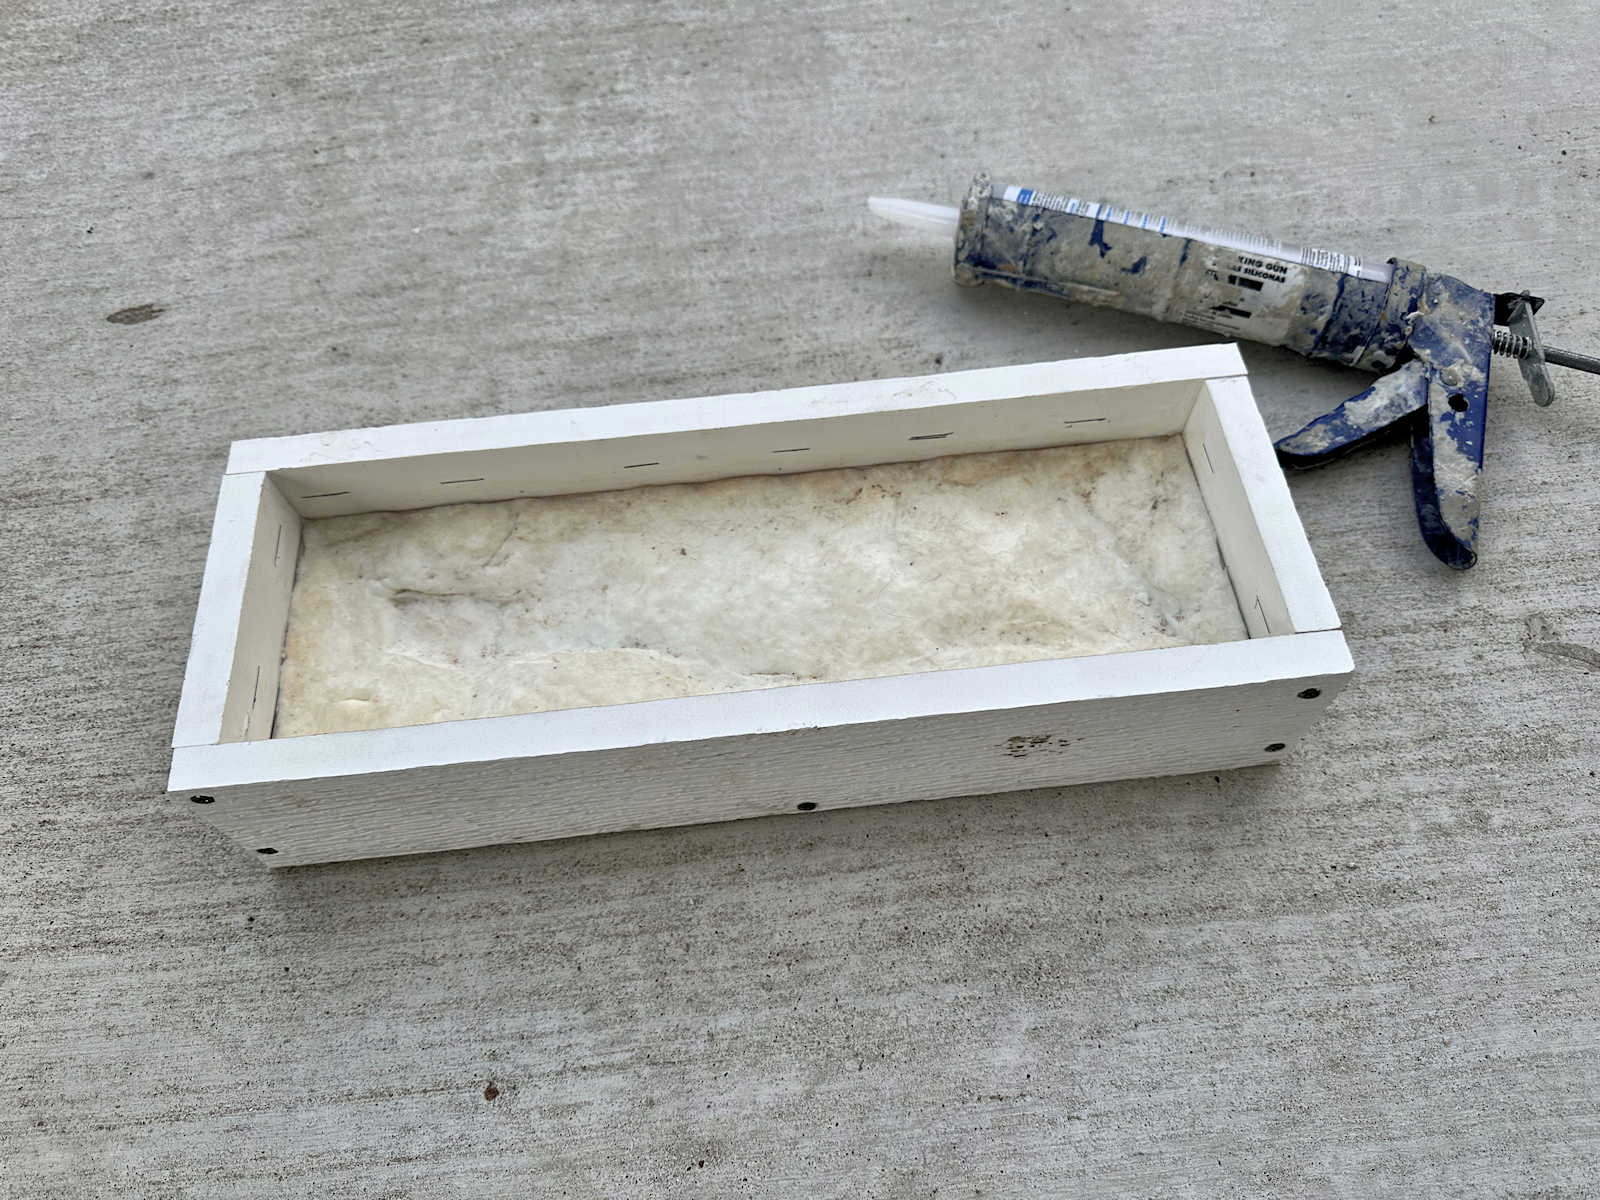
Again, I mixed a very small amount of Cement All and poured it into my mold. And by the way, before pouring the concrete into the mold, I sprayed the mold with WD-40 to act as a release agent. This time I left my back alone.

And this time, I also waited not only until it felt really hard, but also until it felt cold to the touch. I’m not sure how long it took because I was busy with something else. I guess it took about an hour and a half or two hours. I then removed the small piece from the end of my mold and removed the stone.

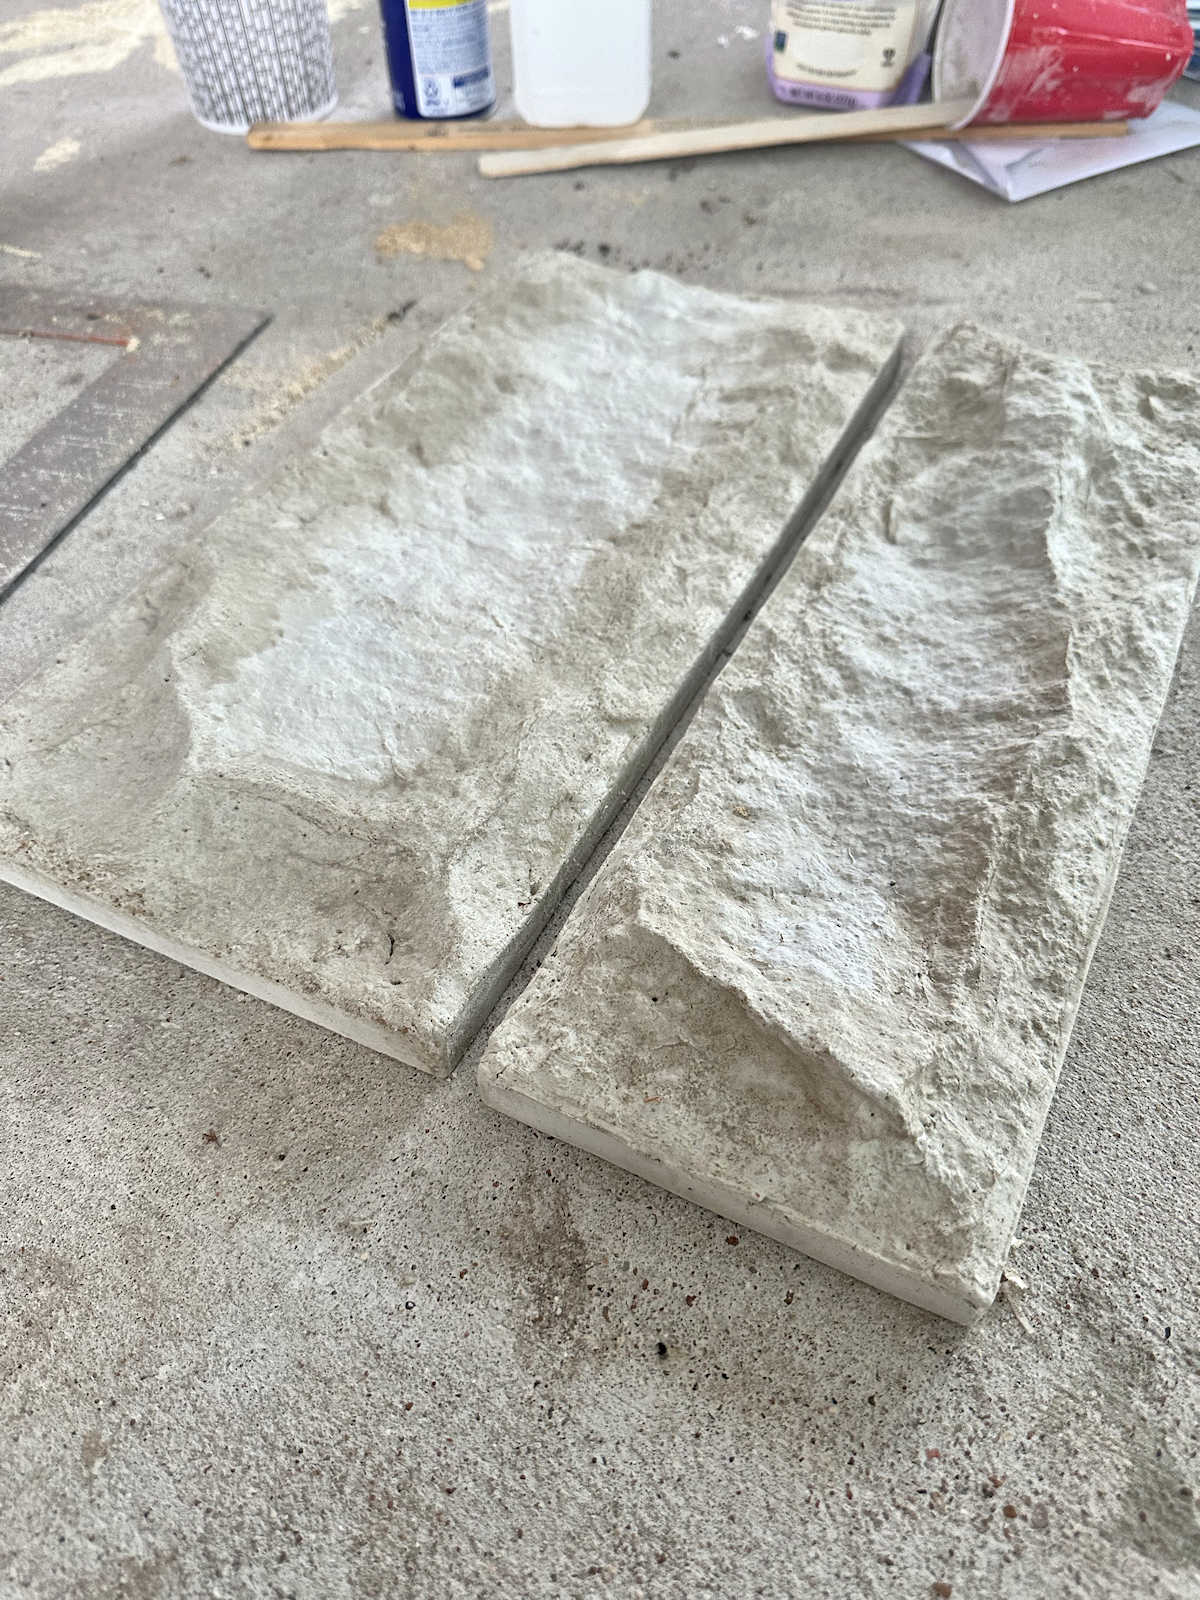
This was a success! For this test, I used two of my molds and poured two stones, and they both turned out great. I think the WD-40 caused some discoloration, but since I will be priming and painting these stones, I’m not worried about the color at all.

I was very excited when I took these two stones out of their molds and saw the final result.

Aside from the color, they seemed to fit perfectly with the stone on the front of our house.

Due to the discoloration, it is a little difficult to get a good, accurate image of the stones. Maybe you have to take my word for it. They look great!

UPDATE: Here’s a comparison of the smaller one to the original stone I used to create the silicone textured mat.

Doesn’t it look good?! I really couldn’t be happier with the result. The funny thing is that the natural color of Cement All with the discoloration caused by WD-40 actually has a very natural Austin stone look. But I will prime and paint mine to match the rest of the house. And there is no need to worry about WD-40 affecting the paint. I’ll use my favorite shellac-based primer first (or maybe my second favorite oil-based primer) and seal that WD-40 so it doesn’t cause any problems with the paint.
Now that I have my process going, I need to set up an assembly line in my garage with my six molds so I can pour six at a time every two hours.
I have one more week to work on outdoor projects before I want to turn my attention to our bedroom storage room. I really hope I can finish the front porch in that time!
More about the exterior and patio of our house
see all exterior &
DIY garden projects

read everything outside and
garden blog posts

Addicted 2 Decorating is where I share my DIY and decorating journey as I remodel and decorate the 1948 upper that my husband Matt and I purchased in 2013. Matt has MS and can’t do physical work, so I do most of the house work myself. You can learn more about me here.


