
Want to add some pattern and texture to your window without spending too much? This faux roman shade tutorial will teach you how to do it to give your room the perfect designer touch. This tutorial requires no sewing and can be easily adapted for those who prefer to sew.
Either way, it’s a quick afternoon project that only requires a few materials and instantly transforms any window.

What is a faux roman shade?
A faux Roman shade acts more like a valance, but it looks like the classic Roman shade that many designers know and love. It’s not functional and doesn’t go down, but it can make a window look more finished or hide unwanted hardware from other window blinds.
Faux Roman shades are also a great idea if you don’t need privacy or light-blocking curtains on a window, but just want something that makes the window feel more finished from a design standpoint.
This is a great option if you have cellular roller shades that are functional but have less than desirable looking hardware.

Necessary Supplies
- 2×1 lumber cut to desired width (I did the width of my window plus 1.5″ so I would have a slight overhang. NOTE: If you have very thick molding on your window, you will need a board that is more than 1″ deep. This should be approximately the depth of your molding.)
- Fabric: Cut it 2″ wider than the width of your board and 12″ longer (to account for folds) than you want the final length to be, plus two 3″ x 8″ scrap pieces to finish
- Lining fabric: cut to the same size as the main fabric
- Iron
- Hot glue gun
- Hem tape, if desired (I used hot glue for this project because I used a thick fabric, so the glue lines weren’t visible. If you’re using a thin fabric, you may want to use hem tape to finish all the edges.)
- Fabric scissors
- Needle and thread (optional, to secure the folds. You can also use hot glue for this!)
- Screws for hanging
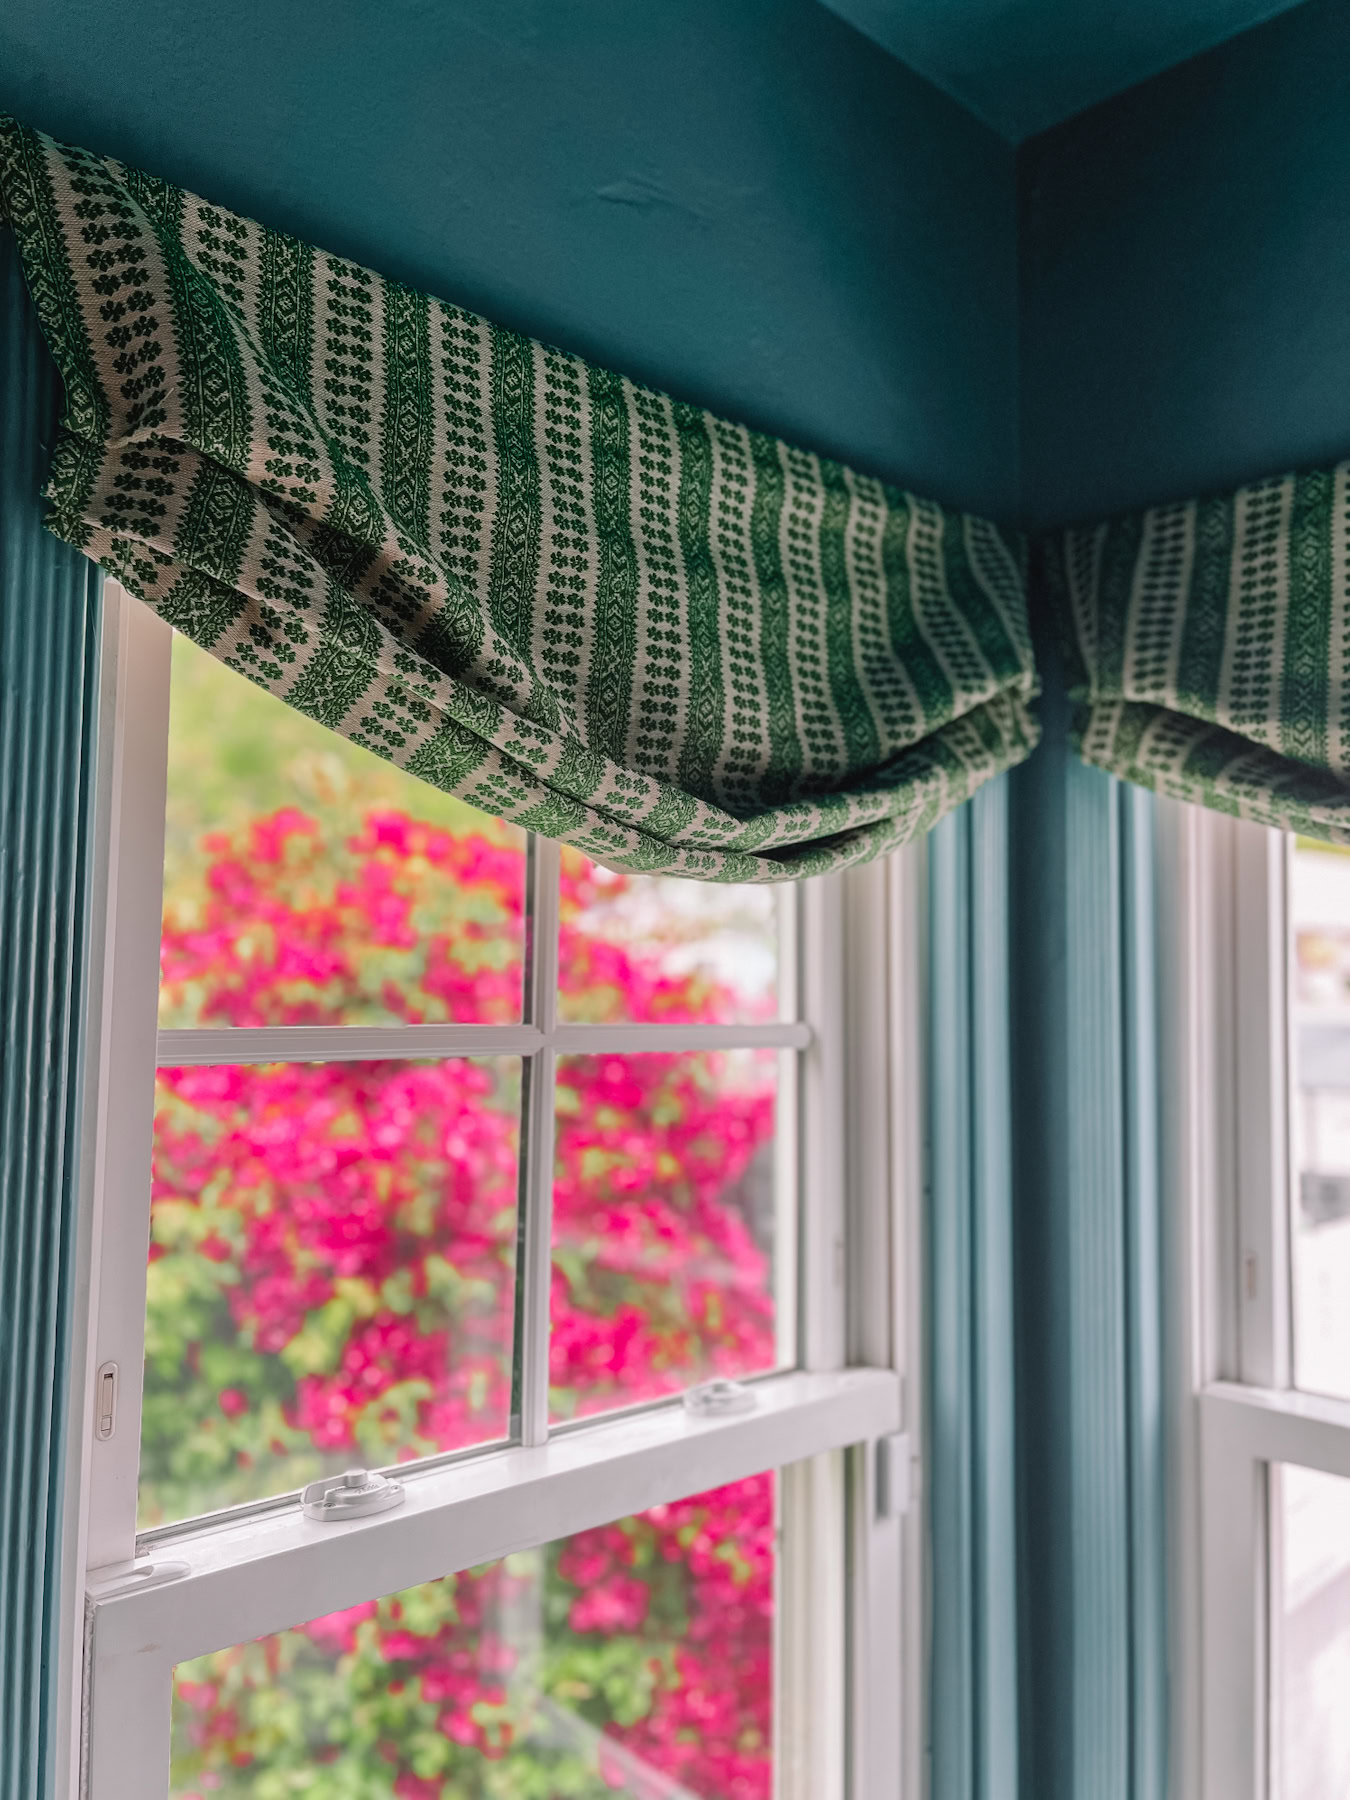
Editor’s Note: The fabric used for this tutorial is Patmos by Susan Dellis in hedgerow green. The lining is oatmeal linen from Joann’s.
Step by step tutorial


- Cover the ends of the wooden board so that they are not exposed in the finished product. Hot glue a 1/2″ hem to the top and bottom of each small piece of fabric so you have a neat hem when you’re done. Hot glue around each end of the board.
- Iron your fabric. Place the fabric face down on a surface and the lining fabric face up on top of it. Place the wrong sides together. Iron the fabric if necessary to make it smooth and wrinkle-free.


- Hem the sides of the fabricFold the two side edges of both fabrics together 1/2″ above the hem and iron to make it easier to glue them together. Apply hot glue in place. Then, fold them another half inch above the hem to create a neat double hem. Iron again. Apply hot glue in place again. Note: The correct way to finish a hem is to have the hem of the lining fabric sit on top of the outer fabric. Instead, I chose to do it the easy way (as described above), which is to hem both fabrics at once, but I wanted to mention this for those pros who want to do it correctly.
- Fold the bottom edge of the fabric. Just like you did on the sides, fold over 1/2″ of your fabric and iron in place. You don’t need to hot glue it as you will be doing that. Make a wider hem here and the glue will grab it easier. Then fold again to create a double hem, about 1″ this time so you have a larger hem at the bottom and iron. Apply hot glue in place.

- Fold the top edge of the fabric. We’ll be gluing it to the wooden board, so you’ll just need to hem it. Fold over 1/2 inch of fabric and iron. Apply hot glue in place.
- Attach the fabric to the wood. Hot glue the top hem of the fabric to the top 1″ edge of the wood board.


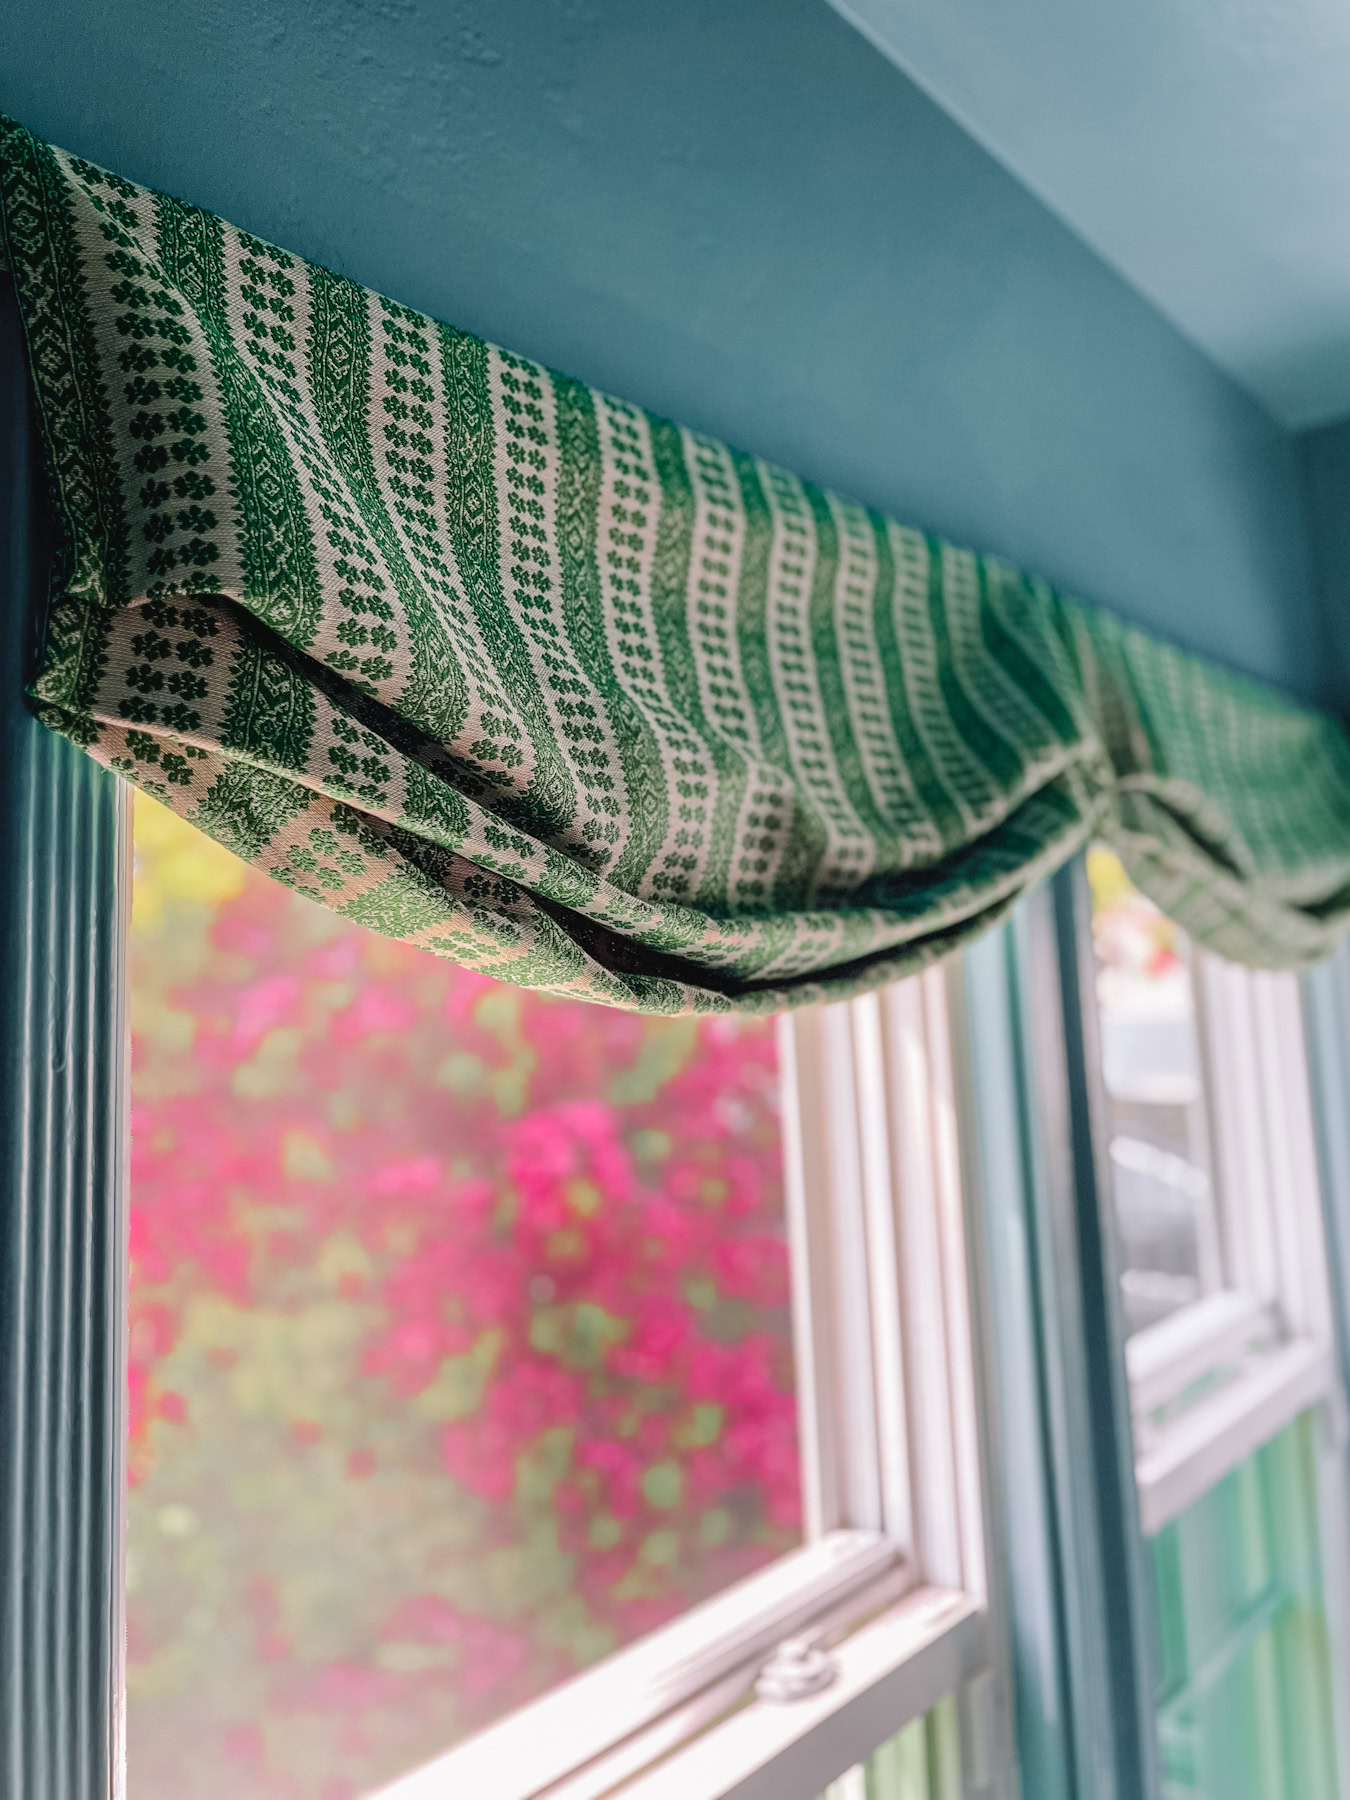
- Create folds. Create pleats in your fabric as desired. The size and number of pleats will depend on the size of your final piece. Create a small hand stitch on each pleat, at each end, to hold it in place, or do so with hot glue if you prefer not to sew. Next, if you want a traditional Roman shade style with straight pleats, you may also need to pin the pleats in the middle, depending on the size of your shade. If you want a relaxed Roman shade style, like the style you see in most of the photos here, pull the bottom corners up to the bottom of your last pleat and pin them in place.

- Hang your blinds. How you hang your curtains will depend on what your walls are like. I used two 2″ screws to hang mine. Position them as desired on the window frame. Lift the fabric out of the way and pre-drill holes in the wood and wall. Drill with screws. Place the fabric back over the wood to hide them.
- Adjust if necessary. First, adjust the pleats if necessary once hung and then add additional stitches to secure in place if desired.
Different styles of roman shades
There are many different styles of Roman shades that this tutorial can be adapted to.

A plain or flat Roman shade has straight pleats running from one side to the other and is the easiest style to create a faux version of. They have a very clean and sophisticated look.

Relaxed Roman shades have a slight curve at the bottom and create a more relaxed and cozy feel in your space.
To add an element of contrast to any Roman shade style, you may want to consider adding a ribbon border. This is especially fun in a child’s room in a bright color of the chosen fabric.
Whatever style you choose, these simple seamless faux roman shades will change the entire look of your room and add a beautiful layer of texture to your space.

More DIY Home Projects to Try
Do you want to add other inexpensive decorative elements to your home and get the most out of your money? Try some of these tutorials!


