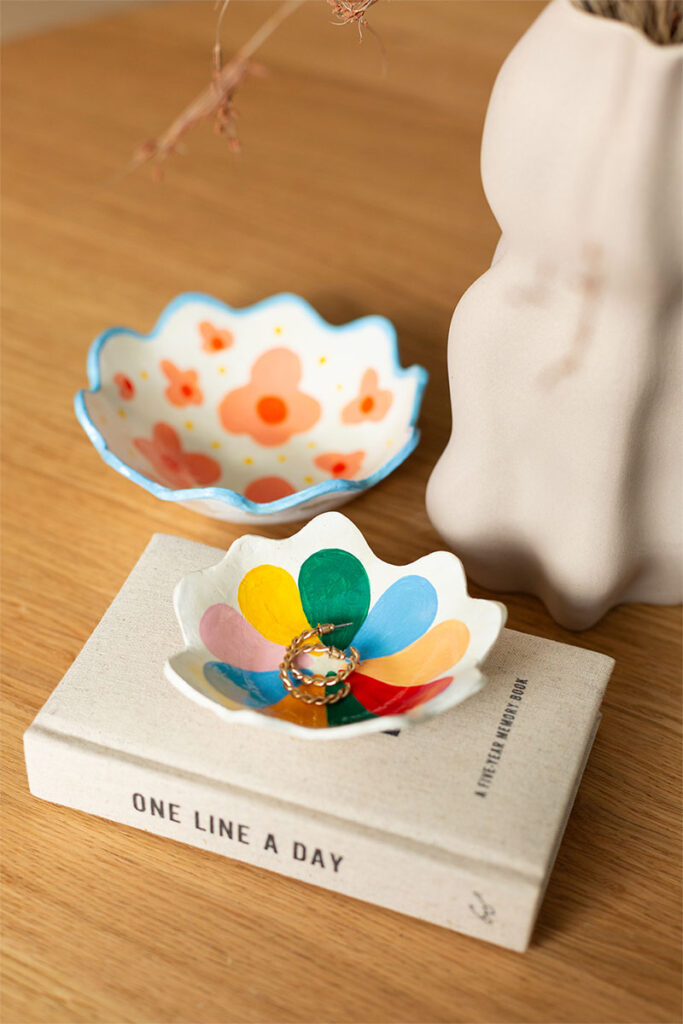
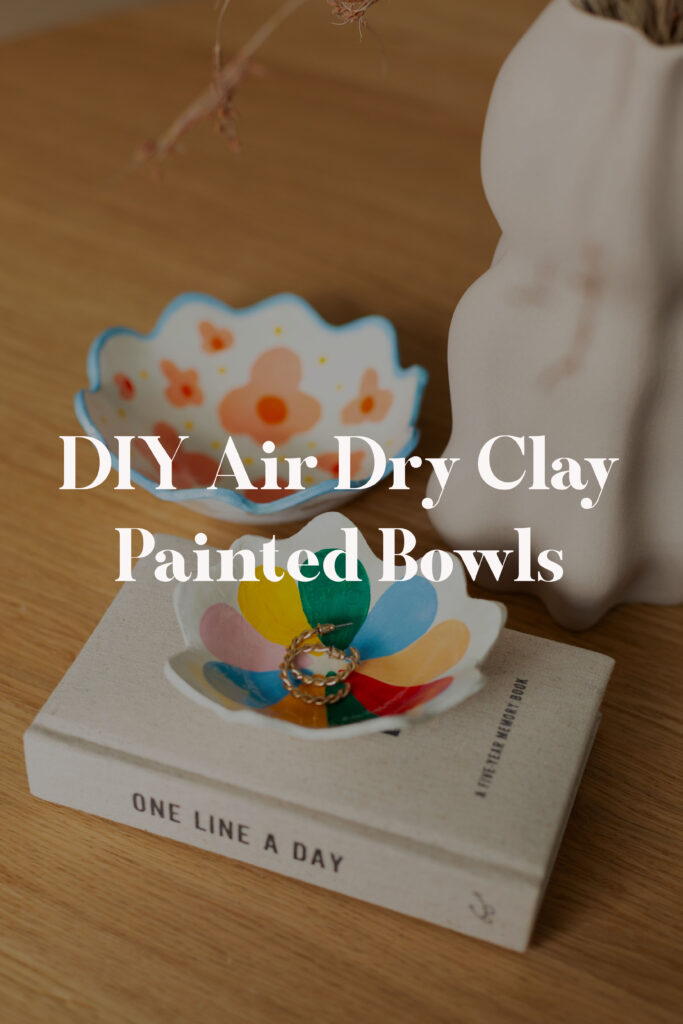
I’ve been wanting to sink my teeth into a clay project for a while now (nothing like the boxes of clay I have in my scraps in my craft cupboard!) and wanted to see how I could use a wavy edge to add a little fun and whimsy to my decor with these DIY Wavy Clay Bowls.
I’ve been playing around with color a lot in my house lately and I’ve really enjoyed combining colors and seeing what works (and more often than not seeing what doesn’t). I’m getting better at knowing what colors make me happy. Little projects like this are a great way to develop your own tastes and discover your personal style without spending your entire budget on room renovations (and then having to live in a house you hate – trust me, I’ve been there!).
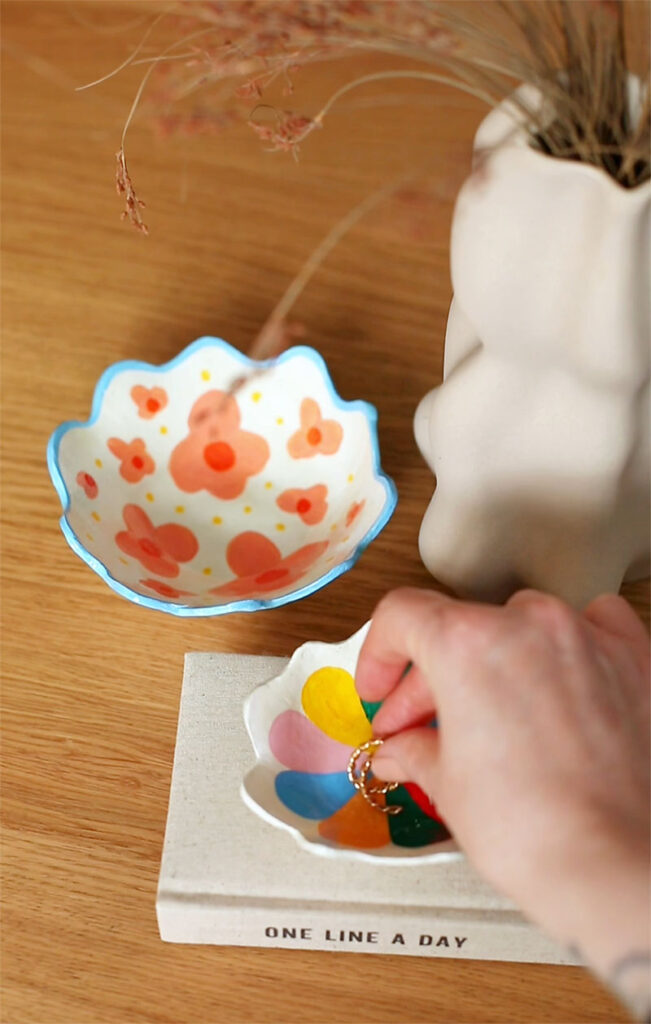
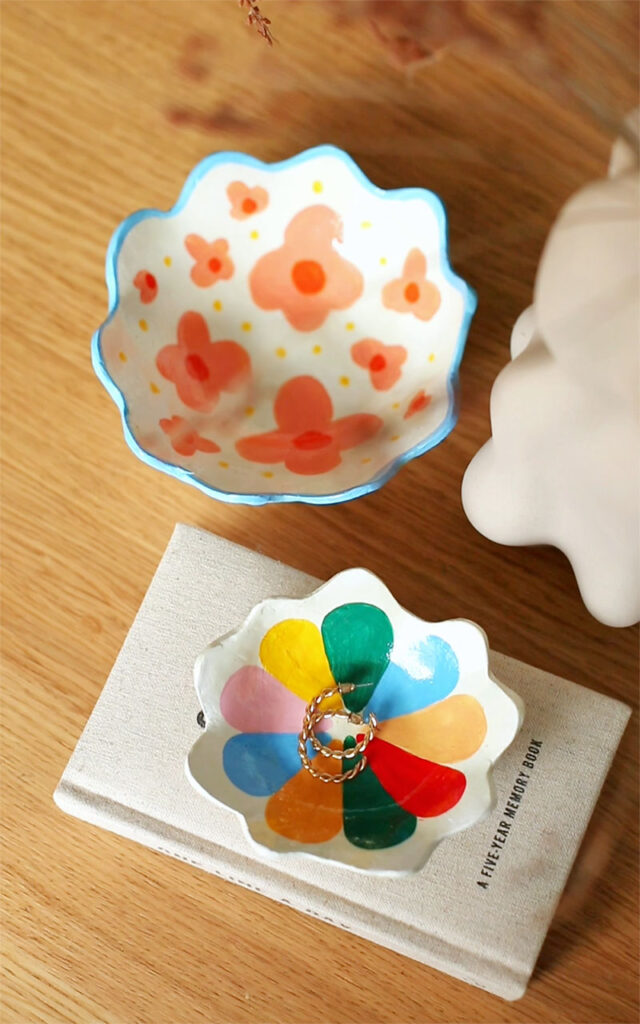
These wavy clay bowls are easy and inexpensive to make, and you can customize them to your liking or paint them just like I did (I’m not going to lie, I’d be so flattered if you chose the latter option). They look great on a coffee table or nightstand to hold small items that would otherwise get lost in the bottom of your purse or down the back of the couch. Read on for instructions!
Materials
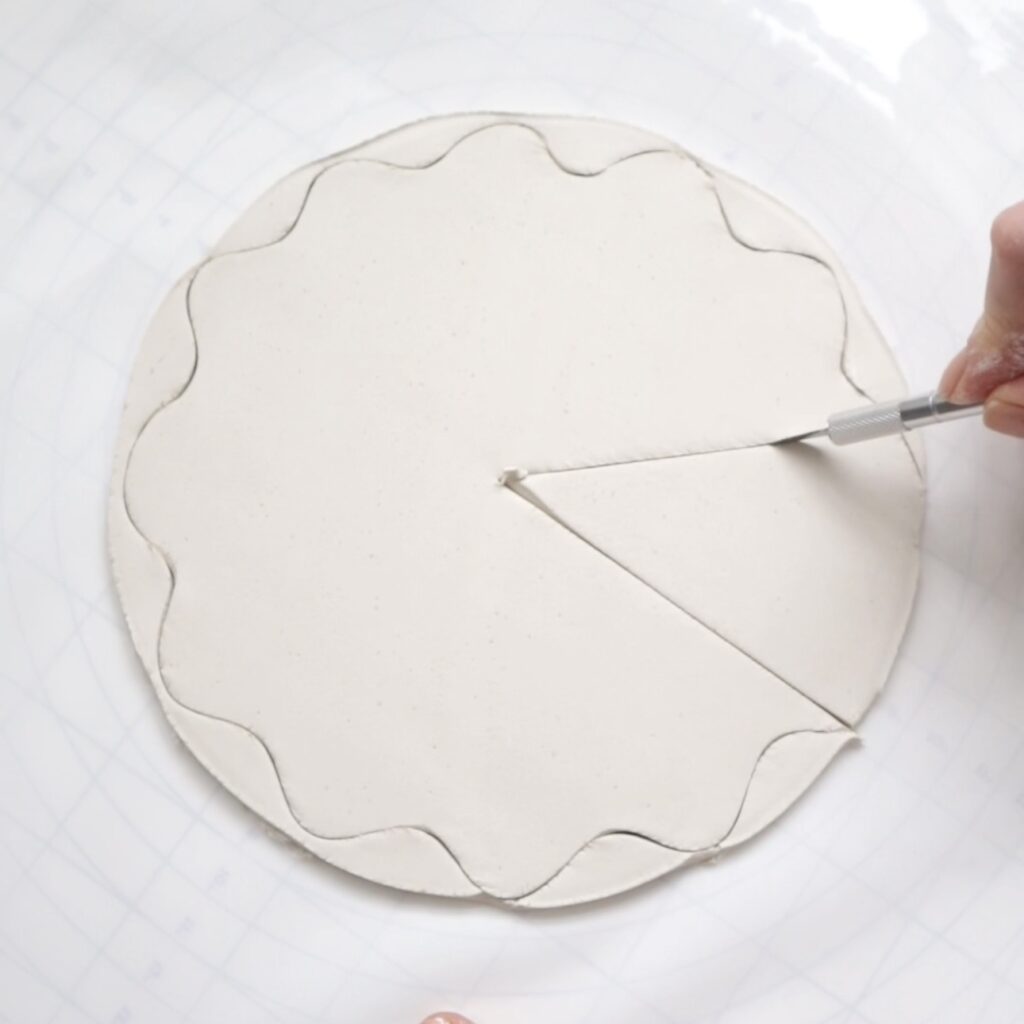
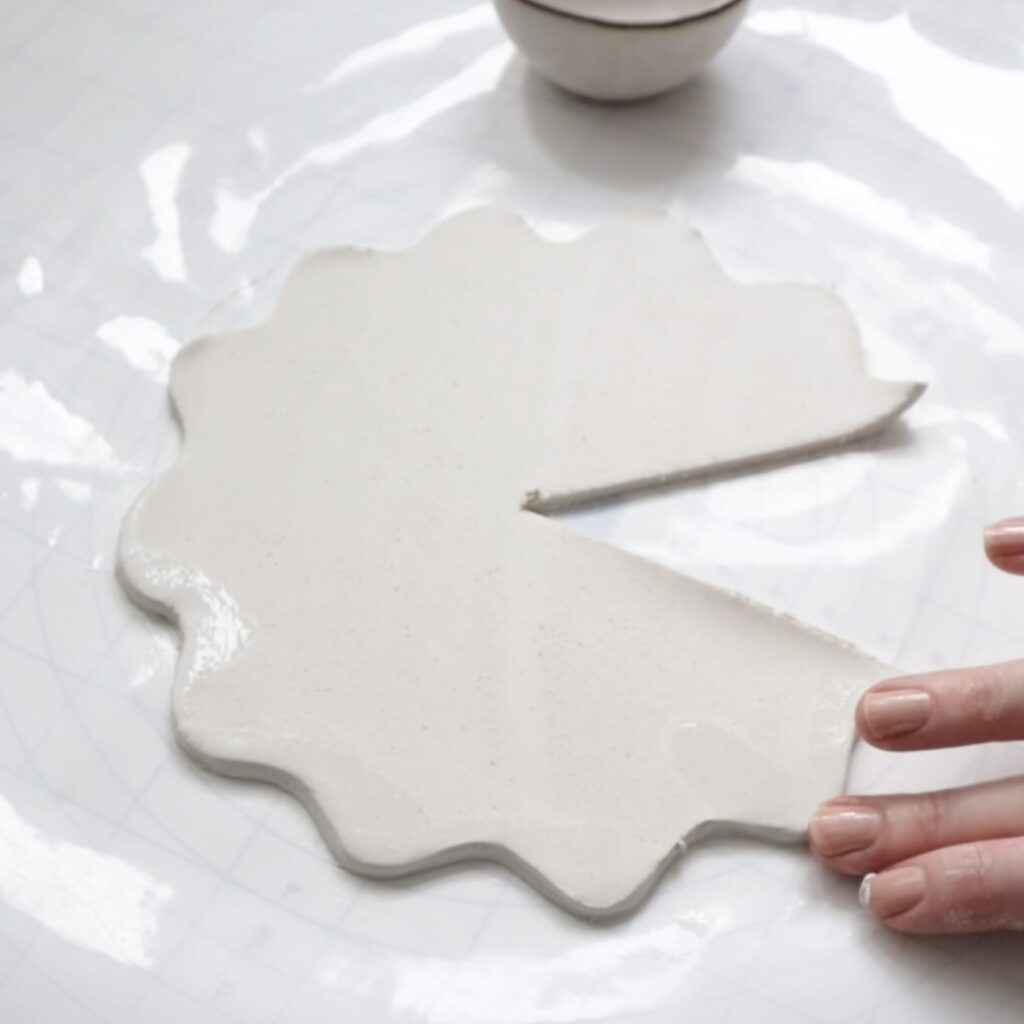
Cut about 250g (1/4 block) of air-dry clay into an irregular circle. I used a small plate to cut out a circle of clay. Remove the excess clay and cut a wavy line around the outside edge with the cutter. To make it easier to shape into a bowl, cut a triangular wedge that is about 1/6 of the circle.
Use water to smooth out wavy edges and cracks in the surface of the clay.
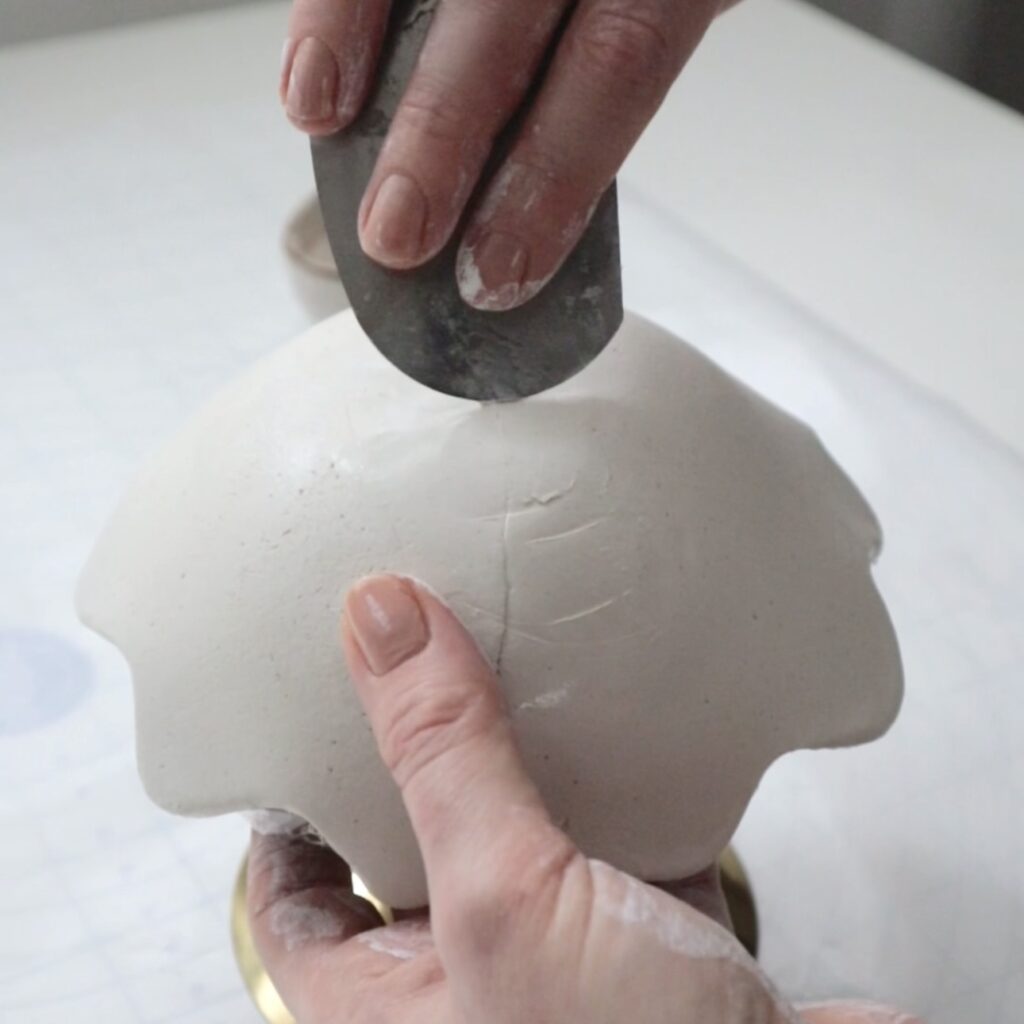
Place the clay on the container upside down and overlap the edges to create a rounded shape. Cut the overlapping clay and gently mix with plenty of water.
Let the container dry for several hours, then turn it upside down and remove the container and the cling film. Mix the grout on the inside of the container with water and let it dry until the clay hardens.
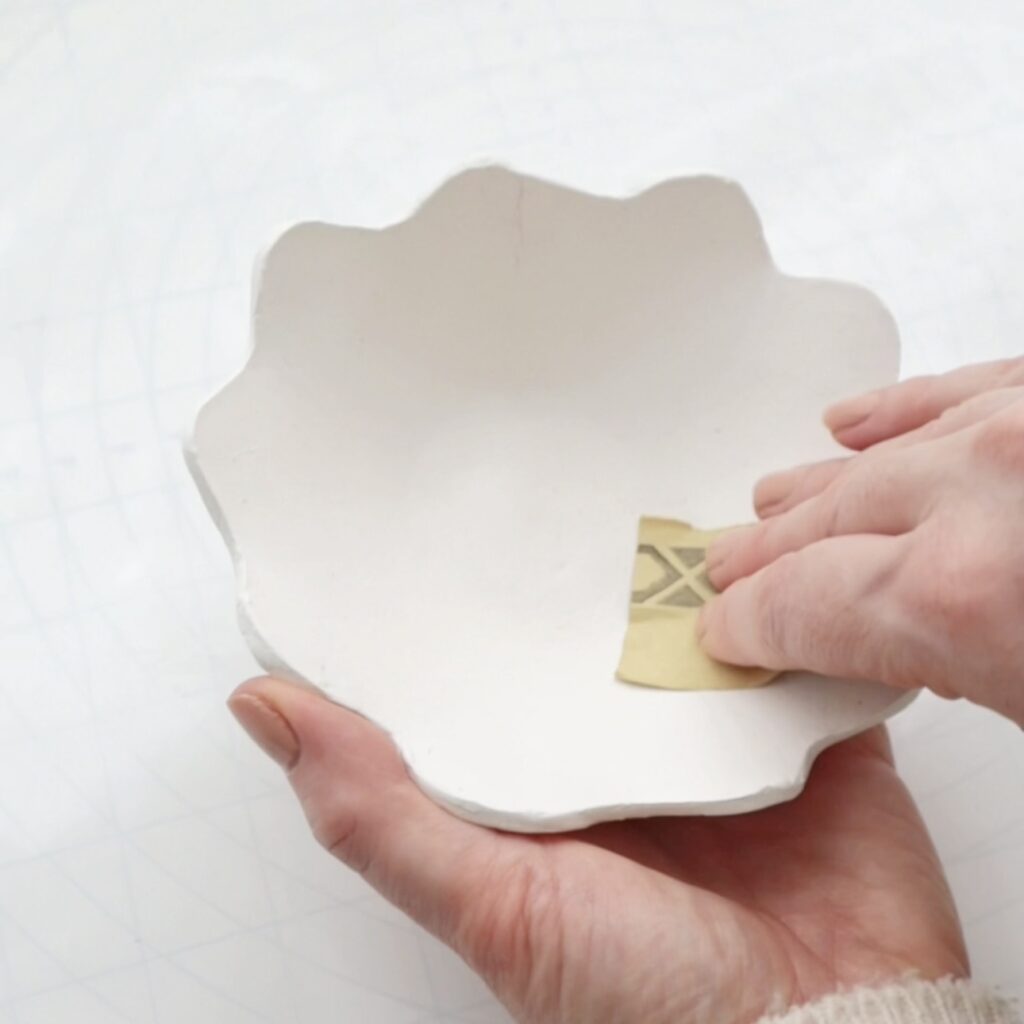
Using fine-grit sandpaper, smooth the edges and surface of the container.
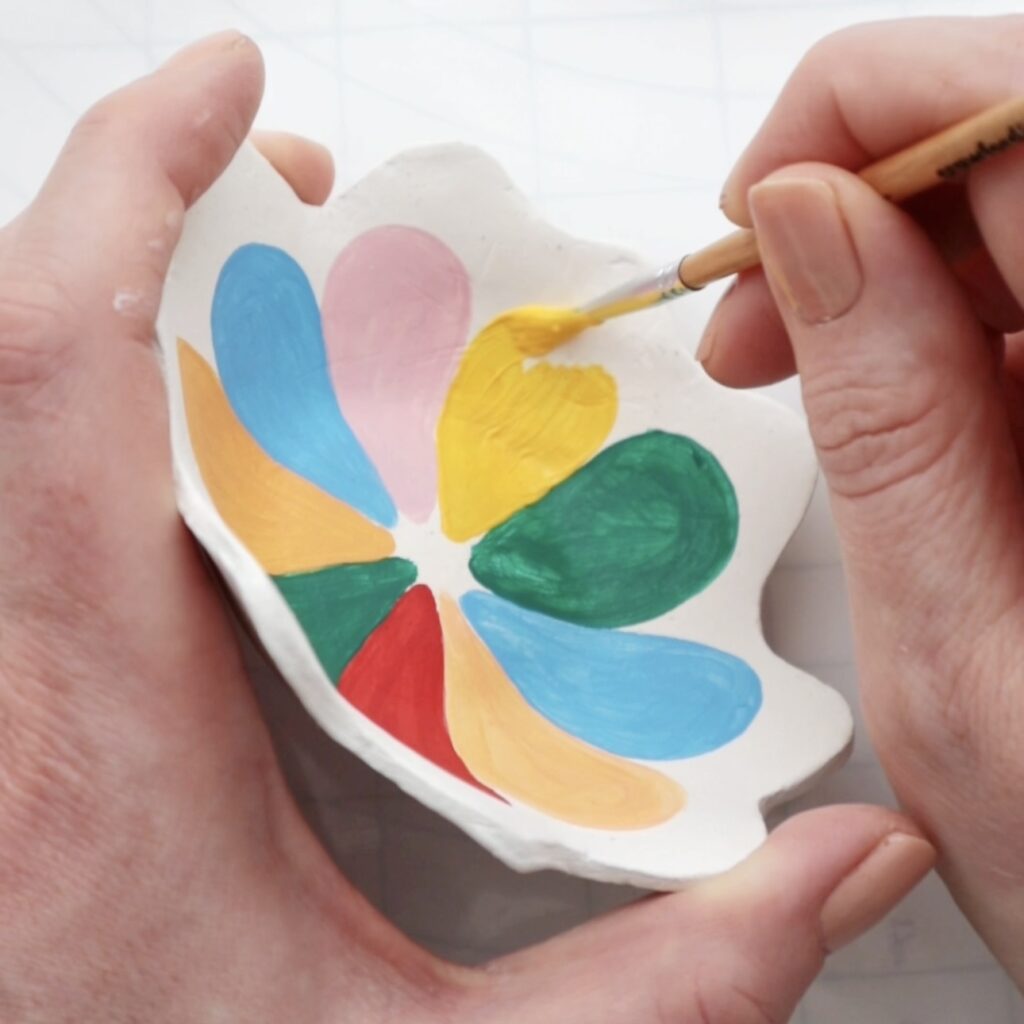
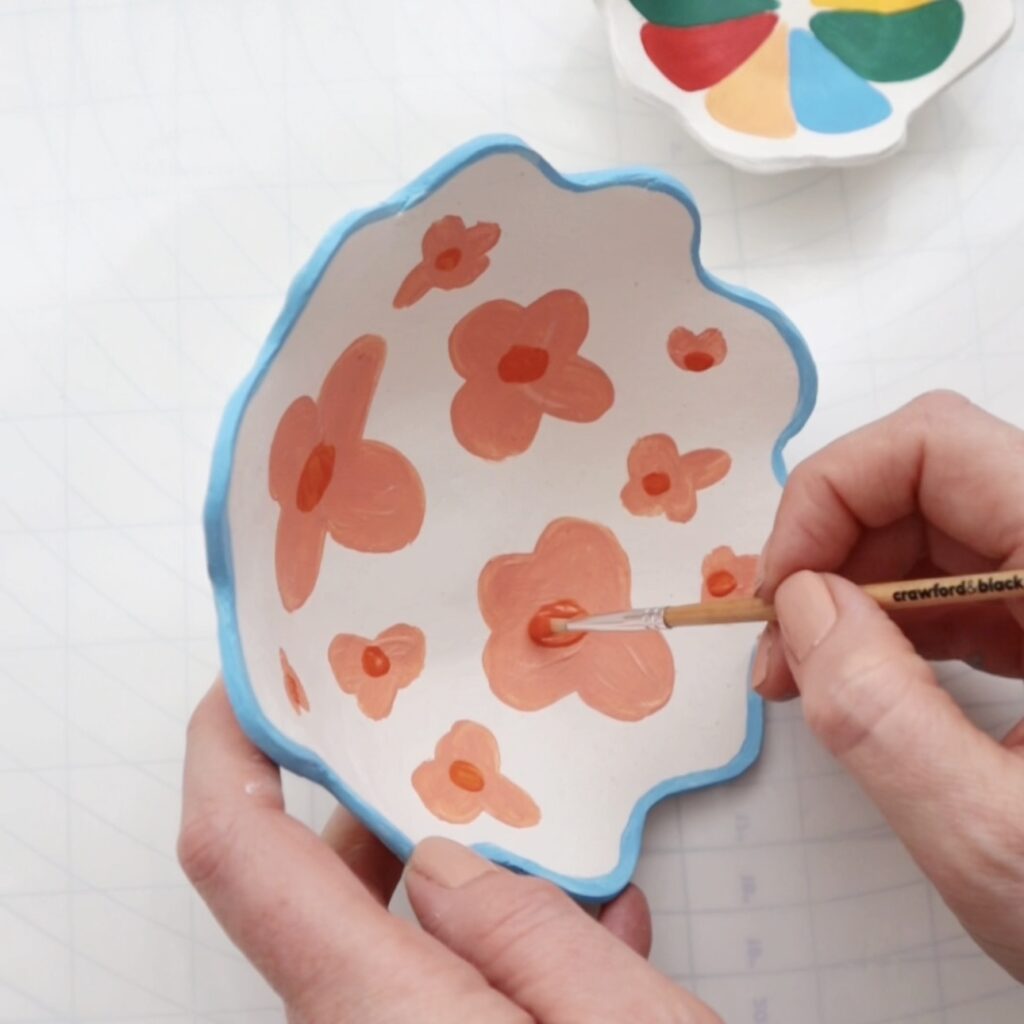
Now your bowl is ready to paint. You can draw your design or just wing it like I did. Paint 2-3 coats of each color to give the bowl a bold, finished look. When the paint is dry, you can seal it with a clear varnish. I used this one. Wait for the varnish to dry completely and your bowl is ready!
