
My studio is practically FINISHED!! I just have a few paint touch-ups to do, a door to paint, a floor to clean, and two new knobs to install, and that’s it! THAT’S ALL!!
I’m hoping to get the final photos today, but to be honest, that probably won’t happen because I’m too distracted by the concrete being poured right outside the studio window. There is so much going on around here and it’s so hard to focus on just one thing. I’m as excited as a kid in a candy store right now. So while I hope to get the final photos today, I think it will probably be tomorrow before I can, especially now that it gets dark so early these days.
Anyway, before I show the final before and after of my studio, I wanted to take a minute and look back at the beginning of this room and remind everyone how far it has come. It took a while to finish (years!), but of all the rooms in our house, this room had the longest journey to get from the beginning to where it is now. And I’m just going to touch on the highlights of this post.
Here’s what this room looked like when we bought the house in August 2013. It was a garage, and the garage floor was about 16 to 18 inches below the breakfast room floor. This image looks from the front garage doors toward the back of the house. The white door you see on the left is now the entrance to the breakfast room.


All the beams were exposed, and the dark wood made it look like a real mess, and made everything look dark and small.

There were two garage doors in the front, although they were so narrow that I could barely fit my car into the garage without scraping the sides, and the truck I used to have (a small Ford F-150) didn’t fit through it all.
At first, my father-in-law helped me put up some drywall in the garage. My intention at the beginning was to convert the garage into my workshop.
So, with that goal in mind, when I pulled out the original kitchen cabinets when I remodeled it, I put those old kitchen cabinets in here, thinking I could use them to create a long countertop with plenty of storage space. That idea never materialized because the garage became more of a storage room.

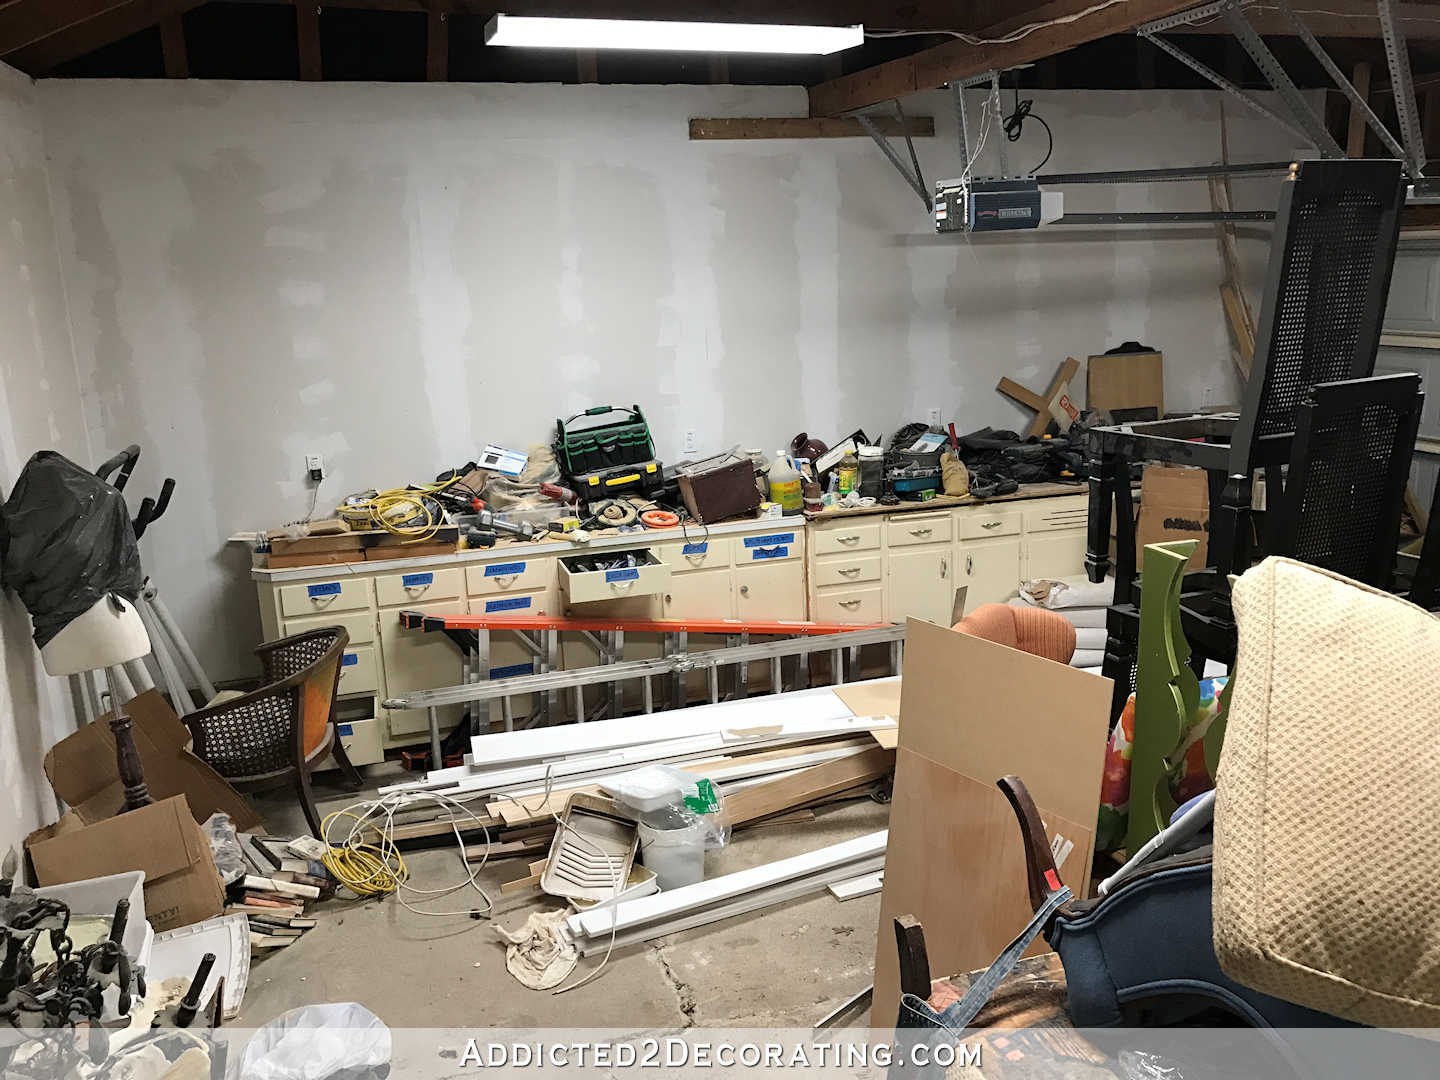
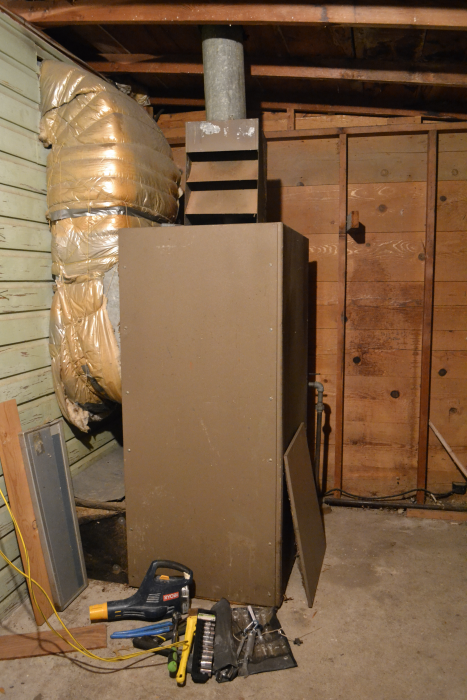
At the time, the back of the garage housed the furnace, but that thing was so scary that we got rid of it before our second winter in this house.

So after that, it was just a storage room. You can see the door on the left side of the image below. That is now the door that leads to the breakfast room.
Here is a view of the other side of the storage room at the back of the garage. This area is now the studio storage closet.
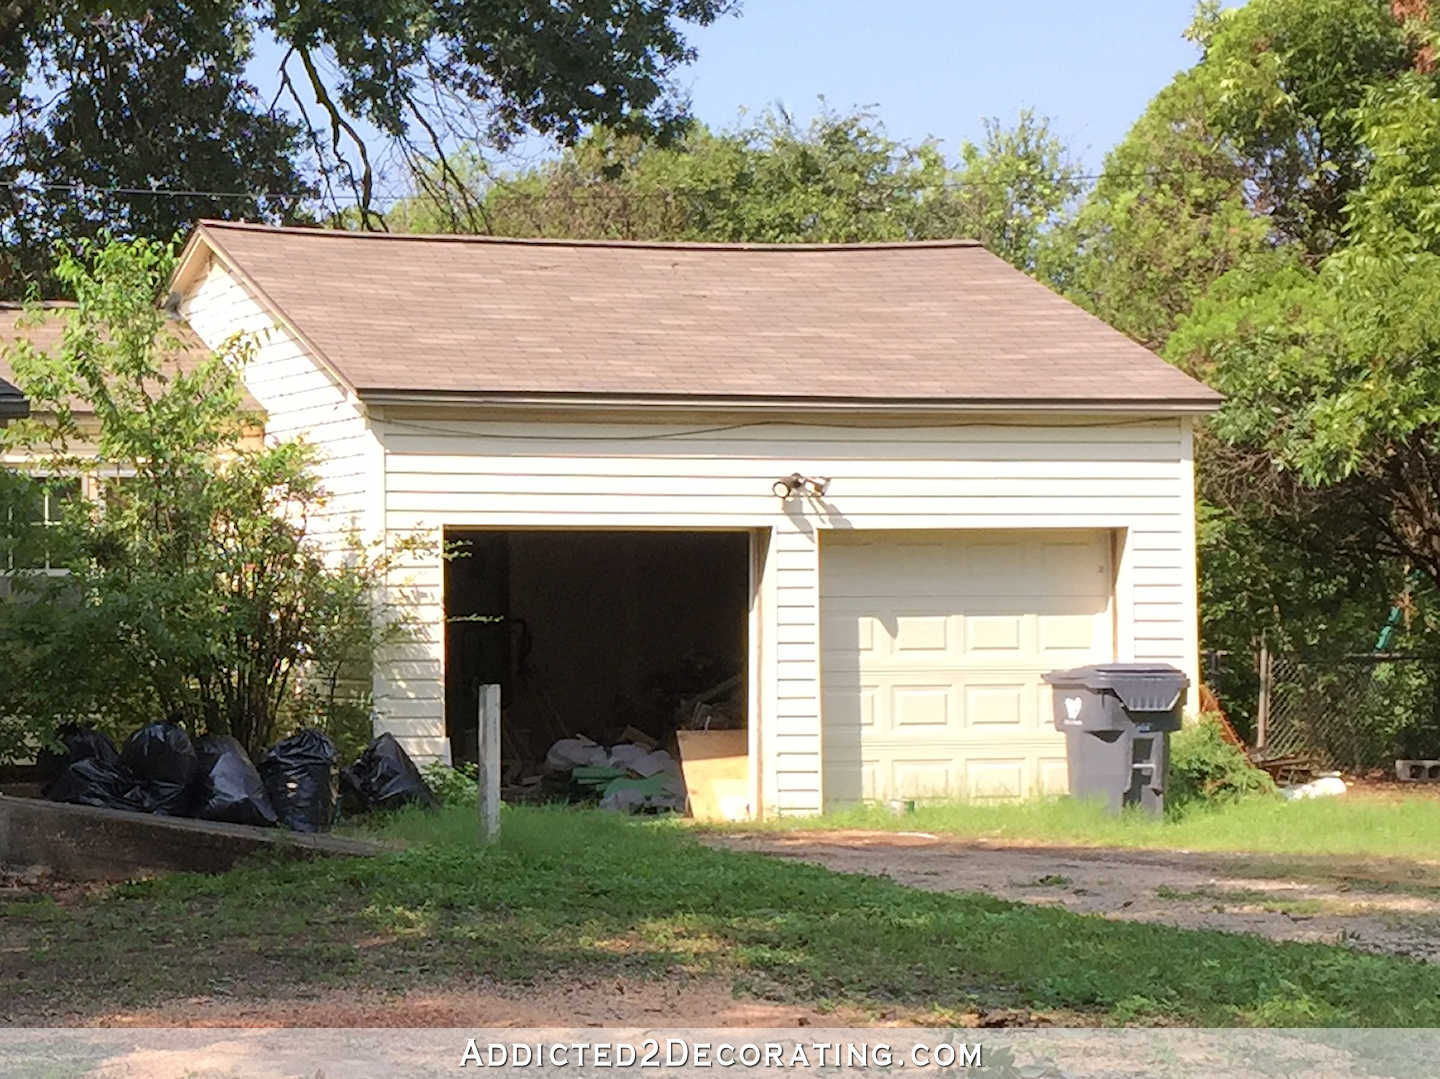
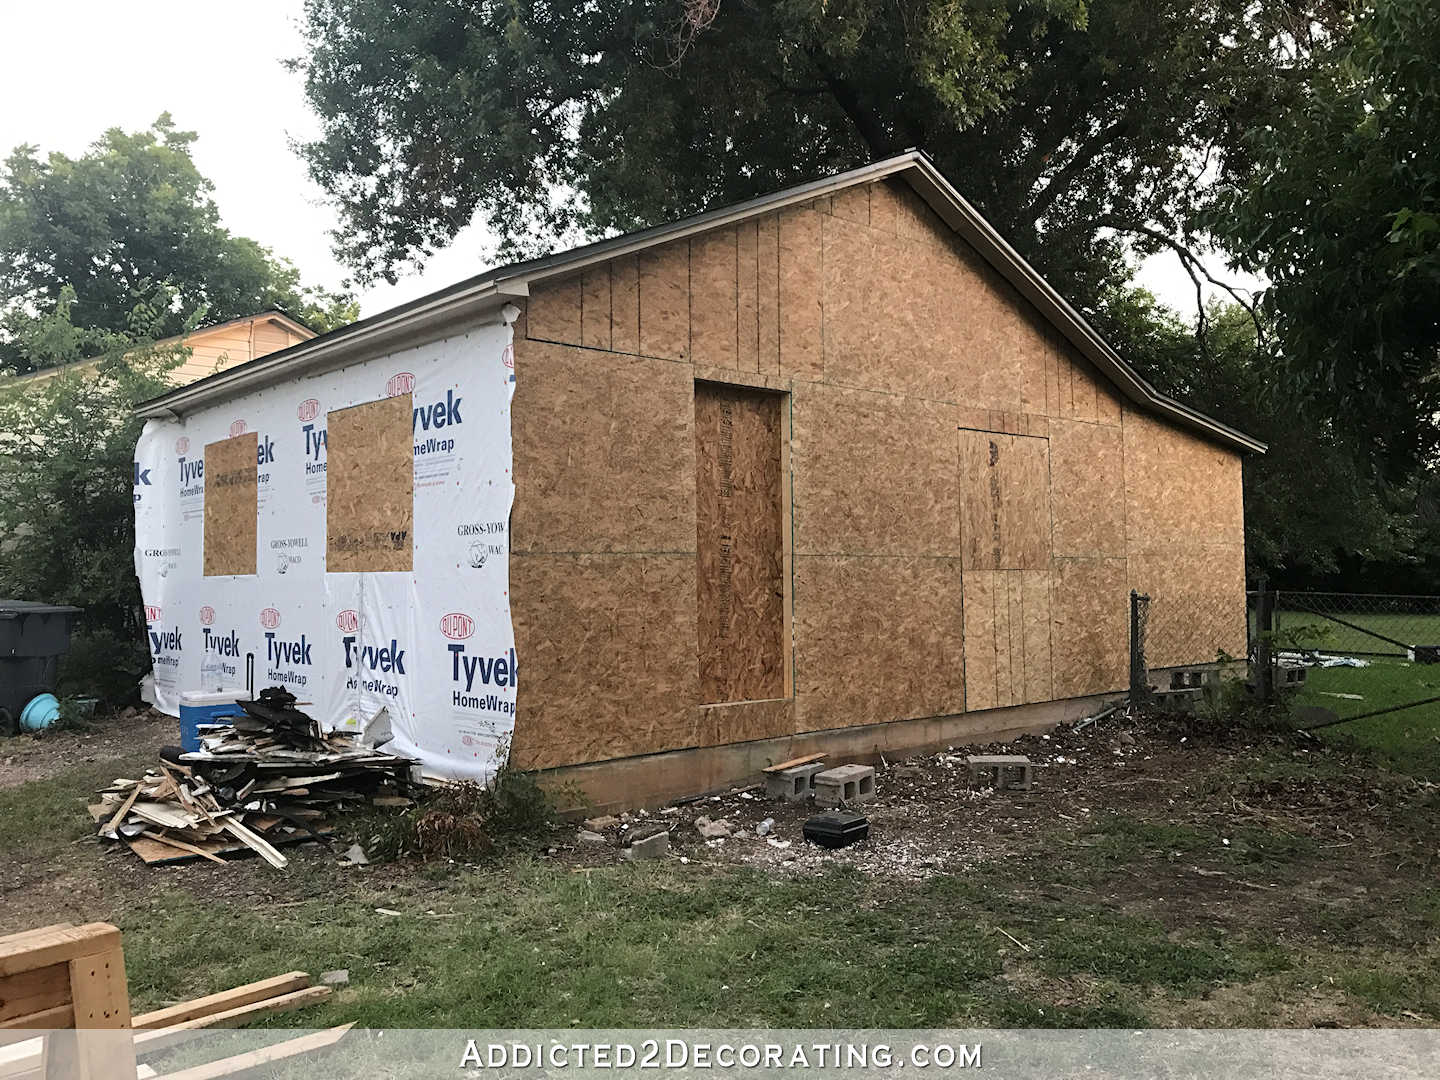
And for the record, here’s a look at what the garage looked from the outside when we bought the house…

In the summer of 2017 we decided to convert the garage into my studio. I hired a contractor to do most of the major work, like removing the garage doors and building a front wall with windows.


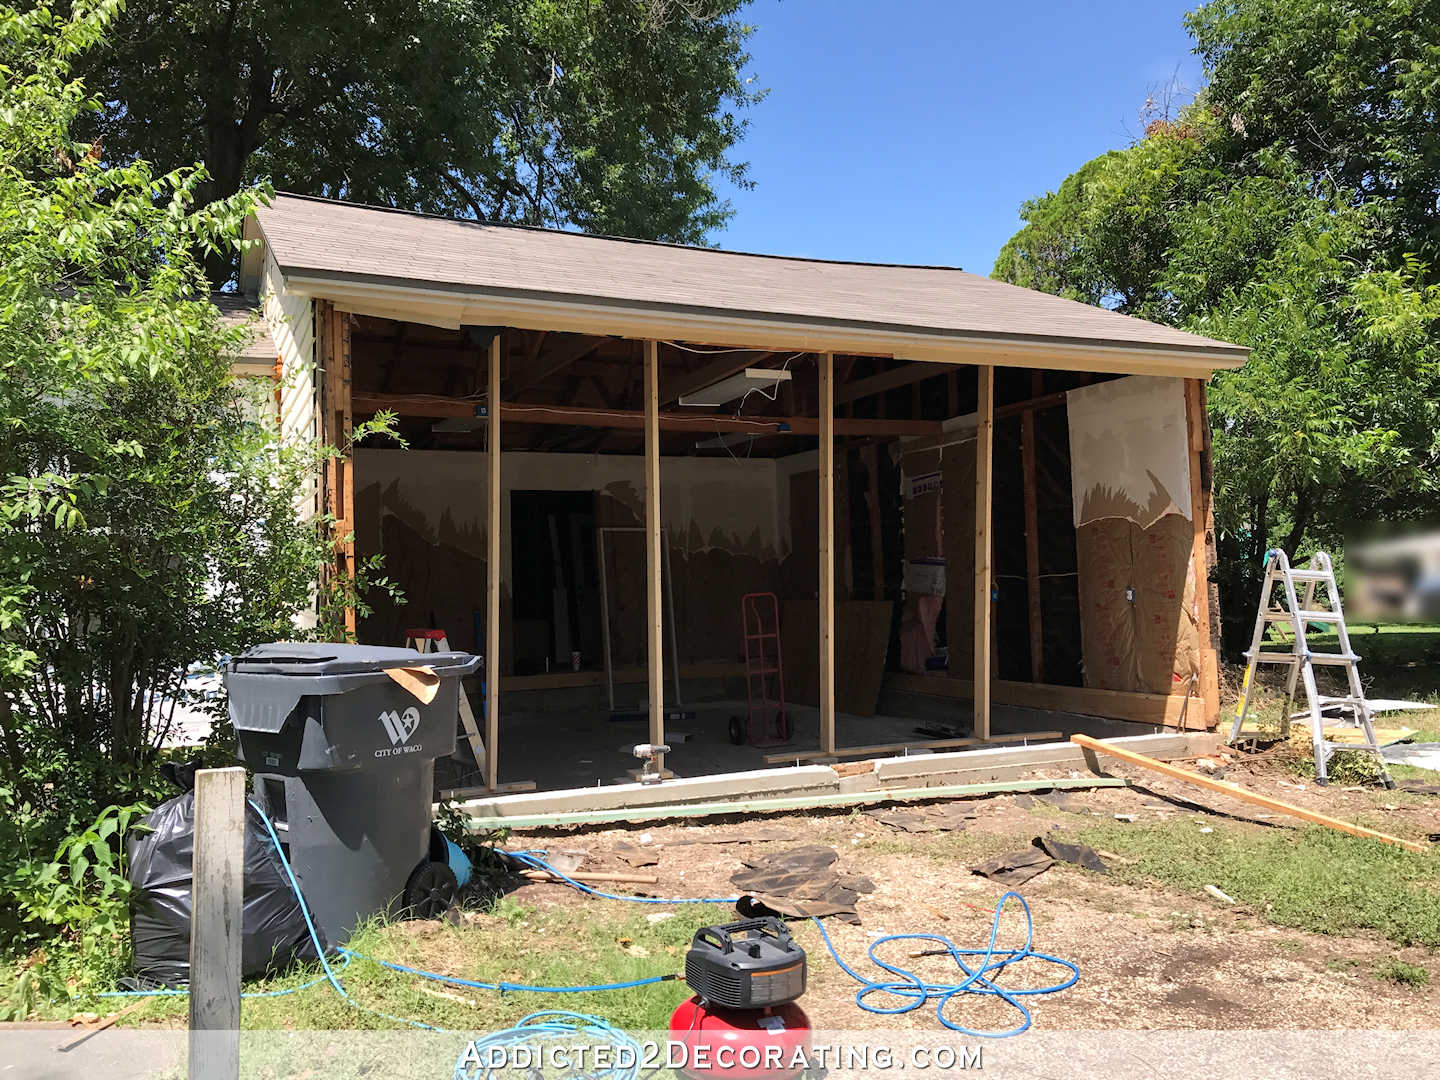
Then, in the summer of 2017, it went from looking like a garage to looking like an actual room in the house.

Another thing they did was remove this ceiling mess…

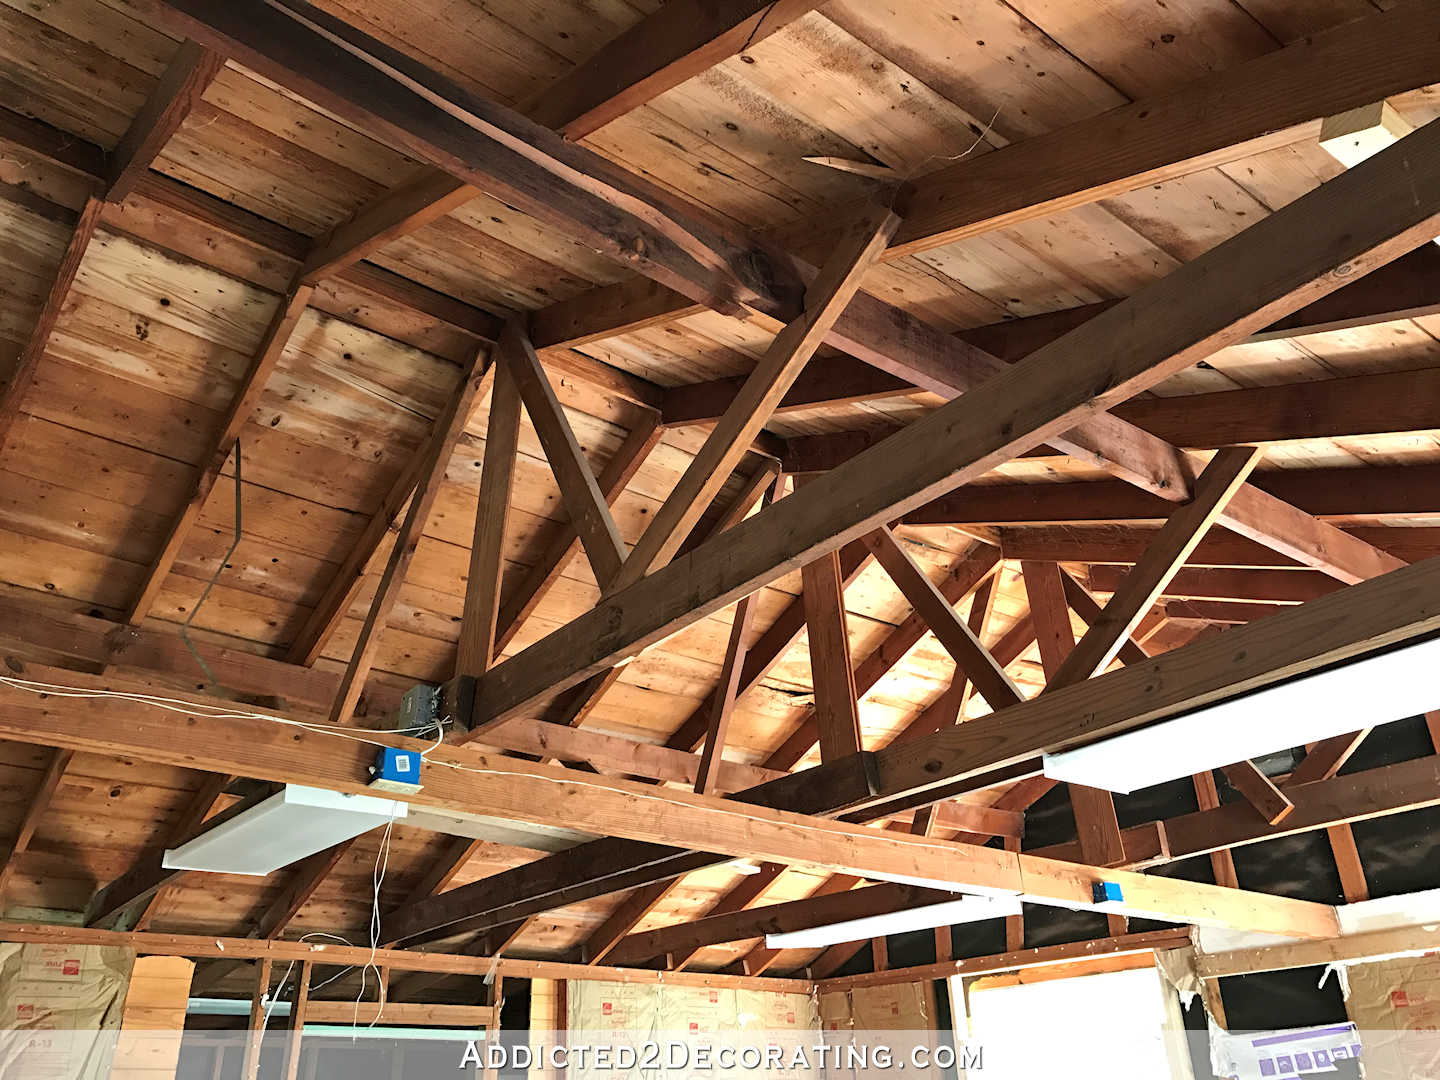
And they redid it to have a much cleaner look, as well as a new beam to eliminate the sag in the ridge line of the room.

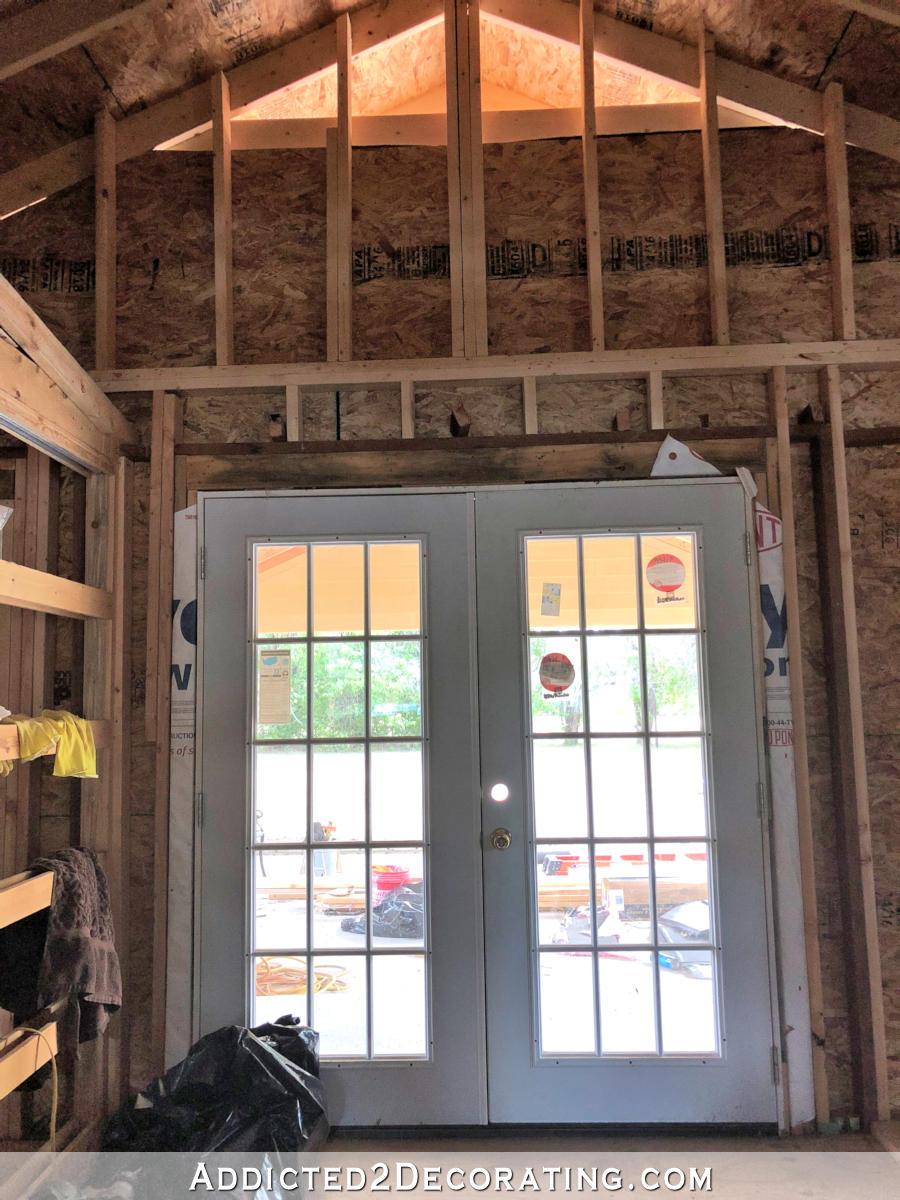
New French doors were placed in the back wall of what used to be the rear storage area, and a paneled opening was placed where the only door used led to the storage area. It looked much better, but we still had this low, sloping ceiling that was only about seven feet high on the back wall and reached just above the new French doors.


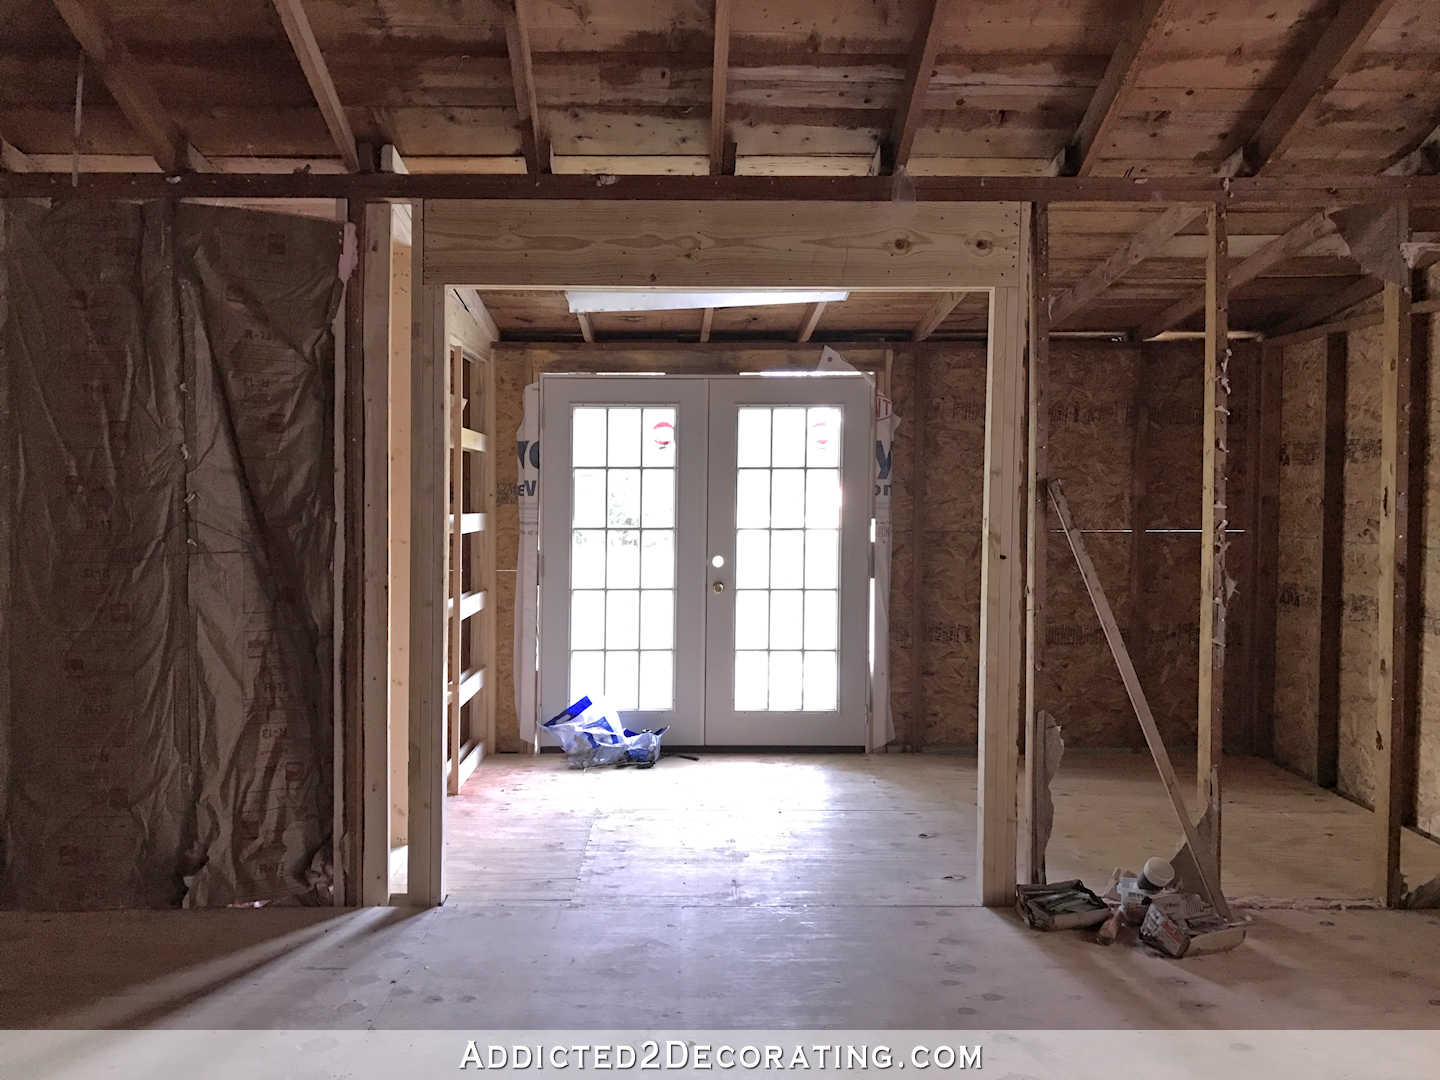
Overall, it looked like a room and no longer a garage, and everything looked much better. But this phase of the project was quite expensive (around $40,000), so the project stalled a bit after this.

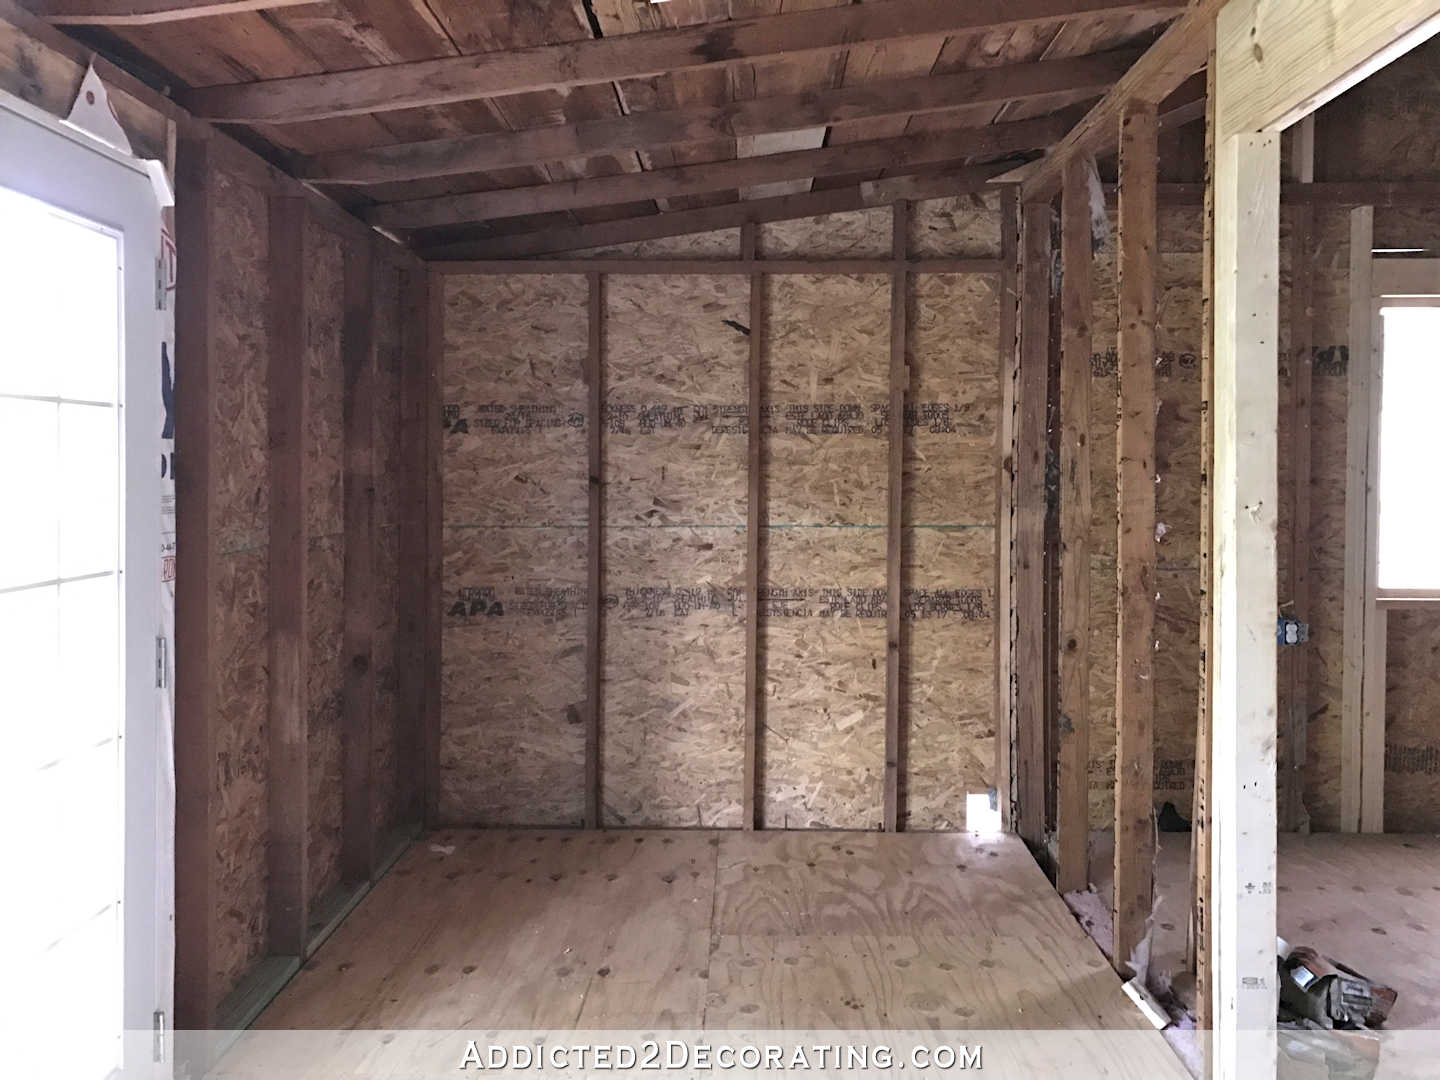
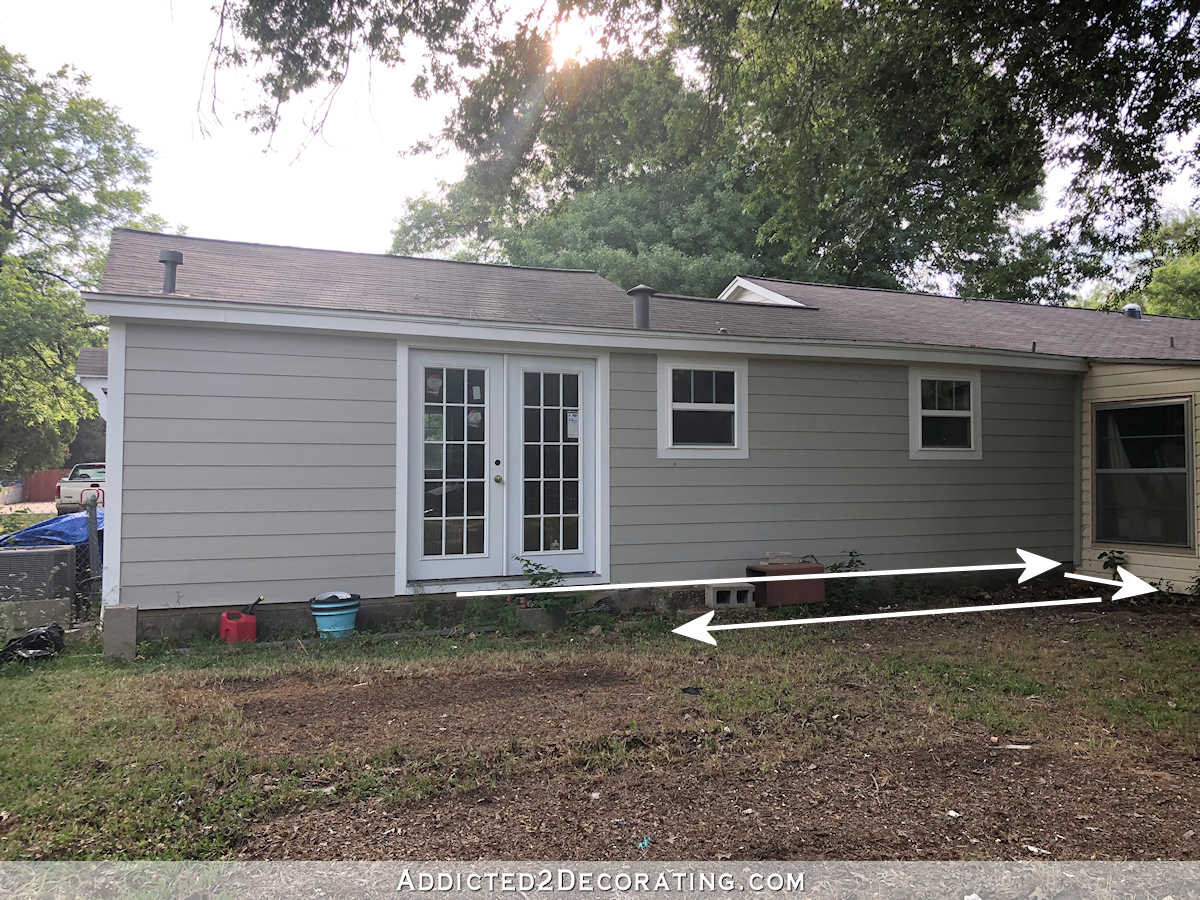
In the summer of 2018 we decided to build a garage at the back of the studio. That solved a lot of problems. First, it gave us a place for a nice ramp. Second, he replaced the garage. And thirdly, the extension would solve the problem of the low ceiling at the back of the studio. This is what it looked like before…

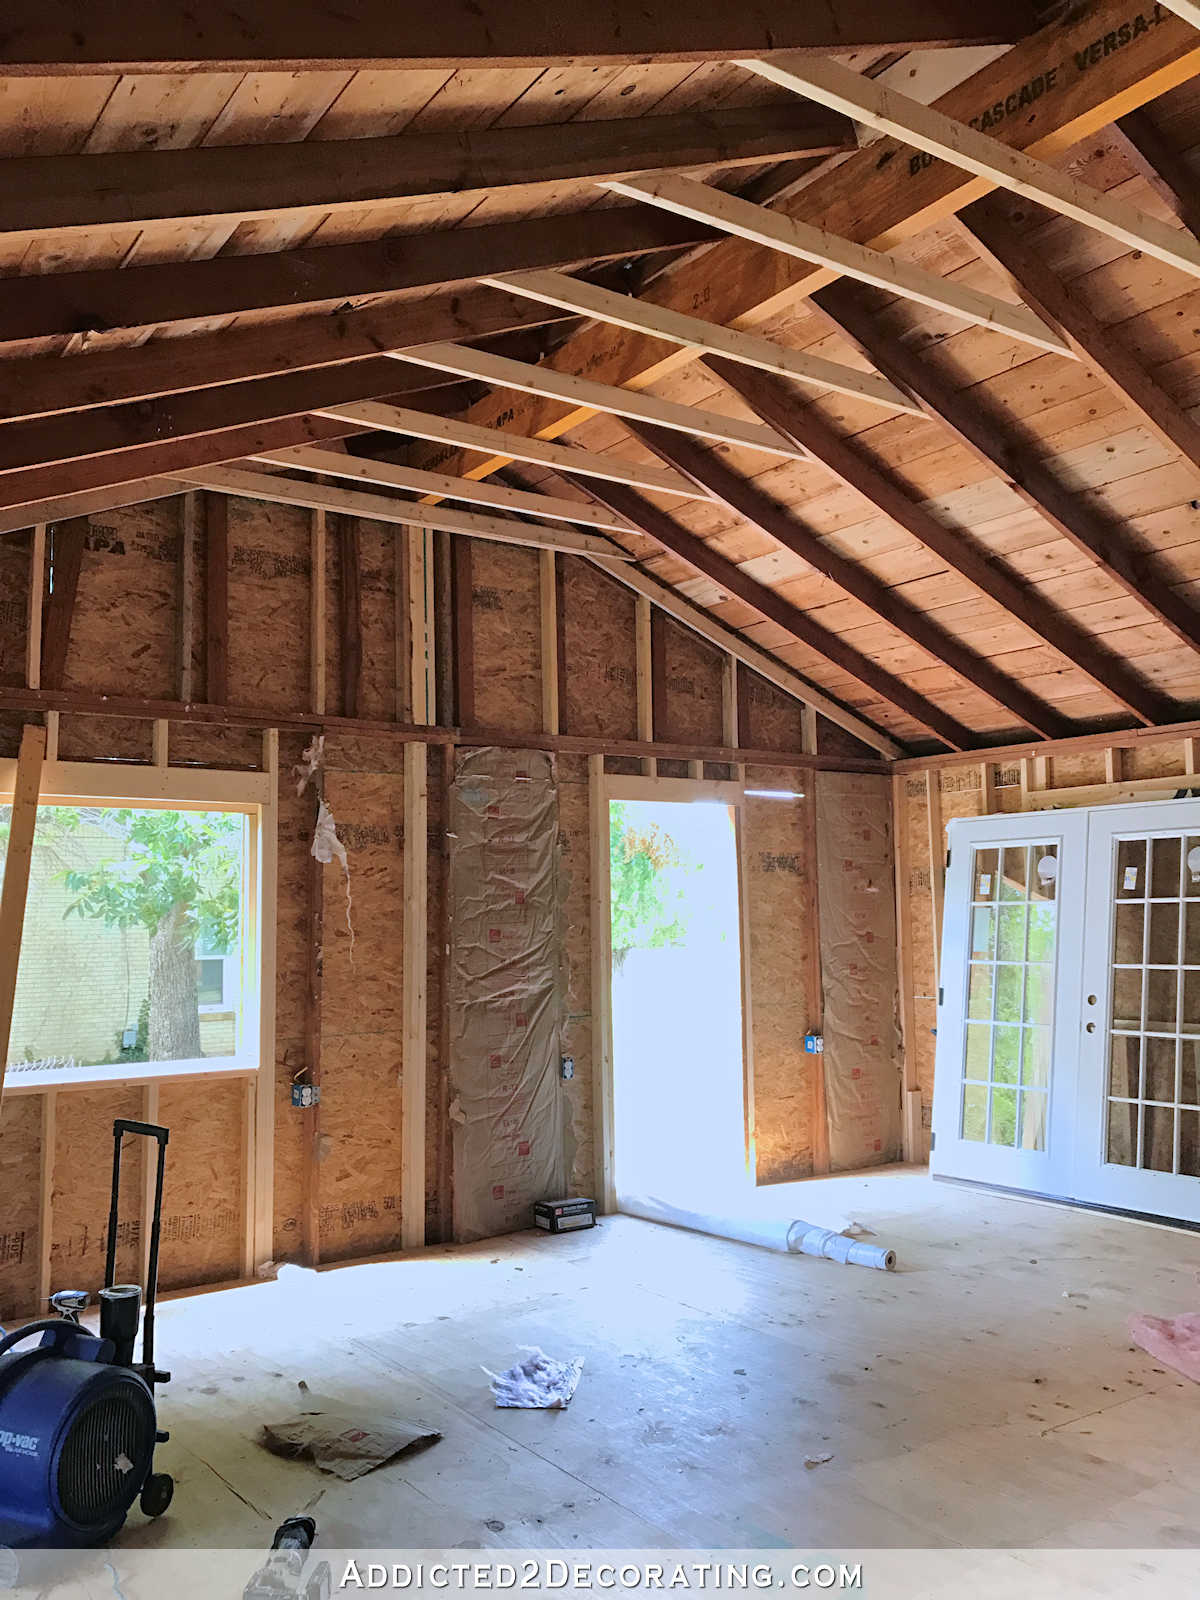
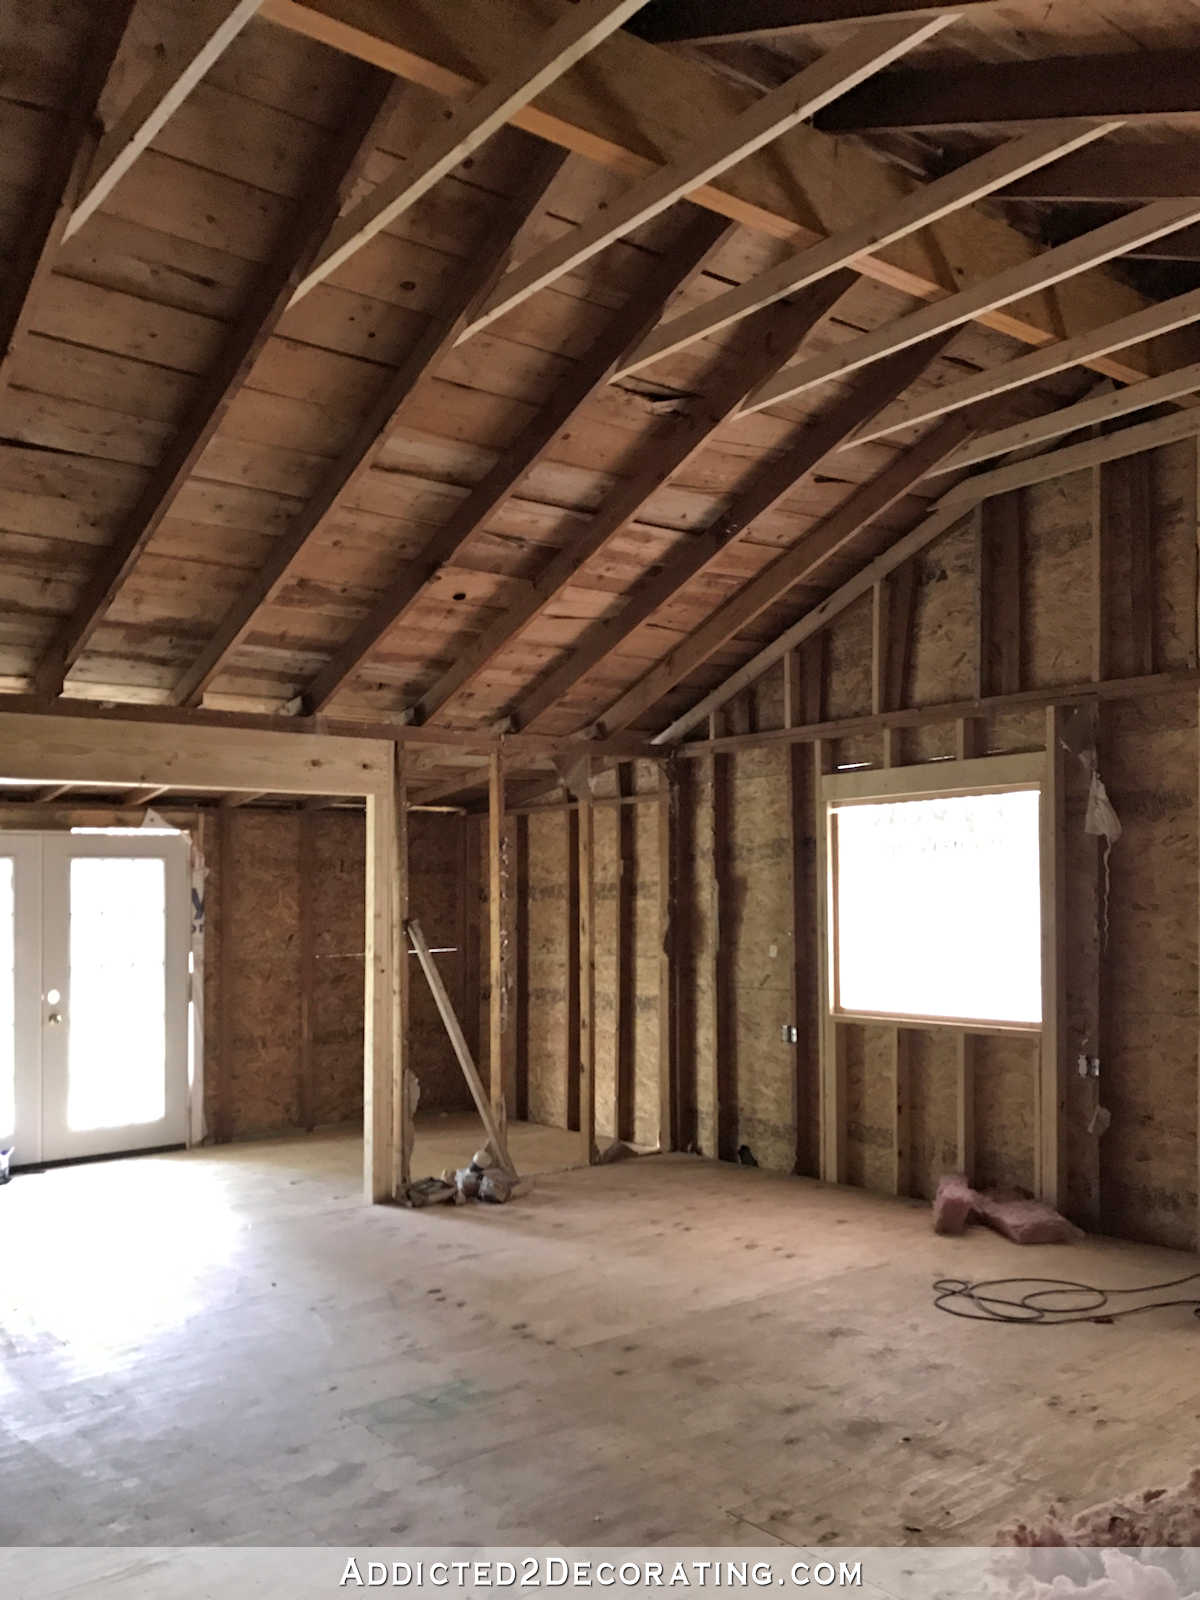
And here you can see how the addition of the carport allowed the roof at the back of the studio to be raised once the new roof was installed and the old roof could be removed.
So from the inside, it was no longer a sloping roof that was only two meters high along the back wall. Instead, it now had this new roofline on top, allowing for a much higher headliner.

We spent a lot of money on all of that (the initial cost of building the studio plus the $22,000 for the garage), so we had to take a break and let our bank account recover. But we picked things up again in 2019 by insulating the room with spray foam insulation…
And soon after, the electrical and drywall panels were finished.
At that point, I took over and did the rest of the work in the room. I painted the walls in the main part of the studio and the back entrance, and then installed the hardwood floor.
By the end of 2019, I had made it this far in the studio. Things were being done. Projects were being removed from the list.
And then 2020 hit and everything came to a complete stop. That year is a blur for me, to be honest. I made some progress around the house, but my focus was not on studying. I finished the living room and music room, and then turned my attention to the guest bedroom, master bathroom, and home gym.
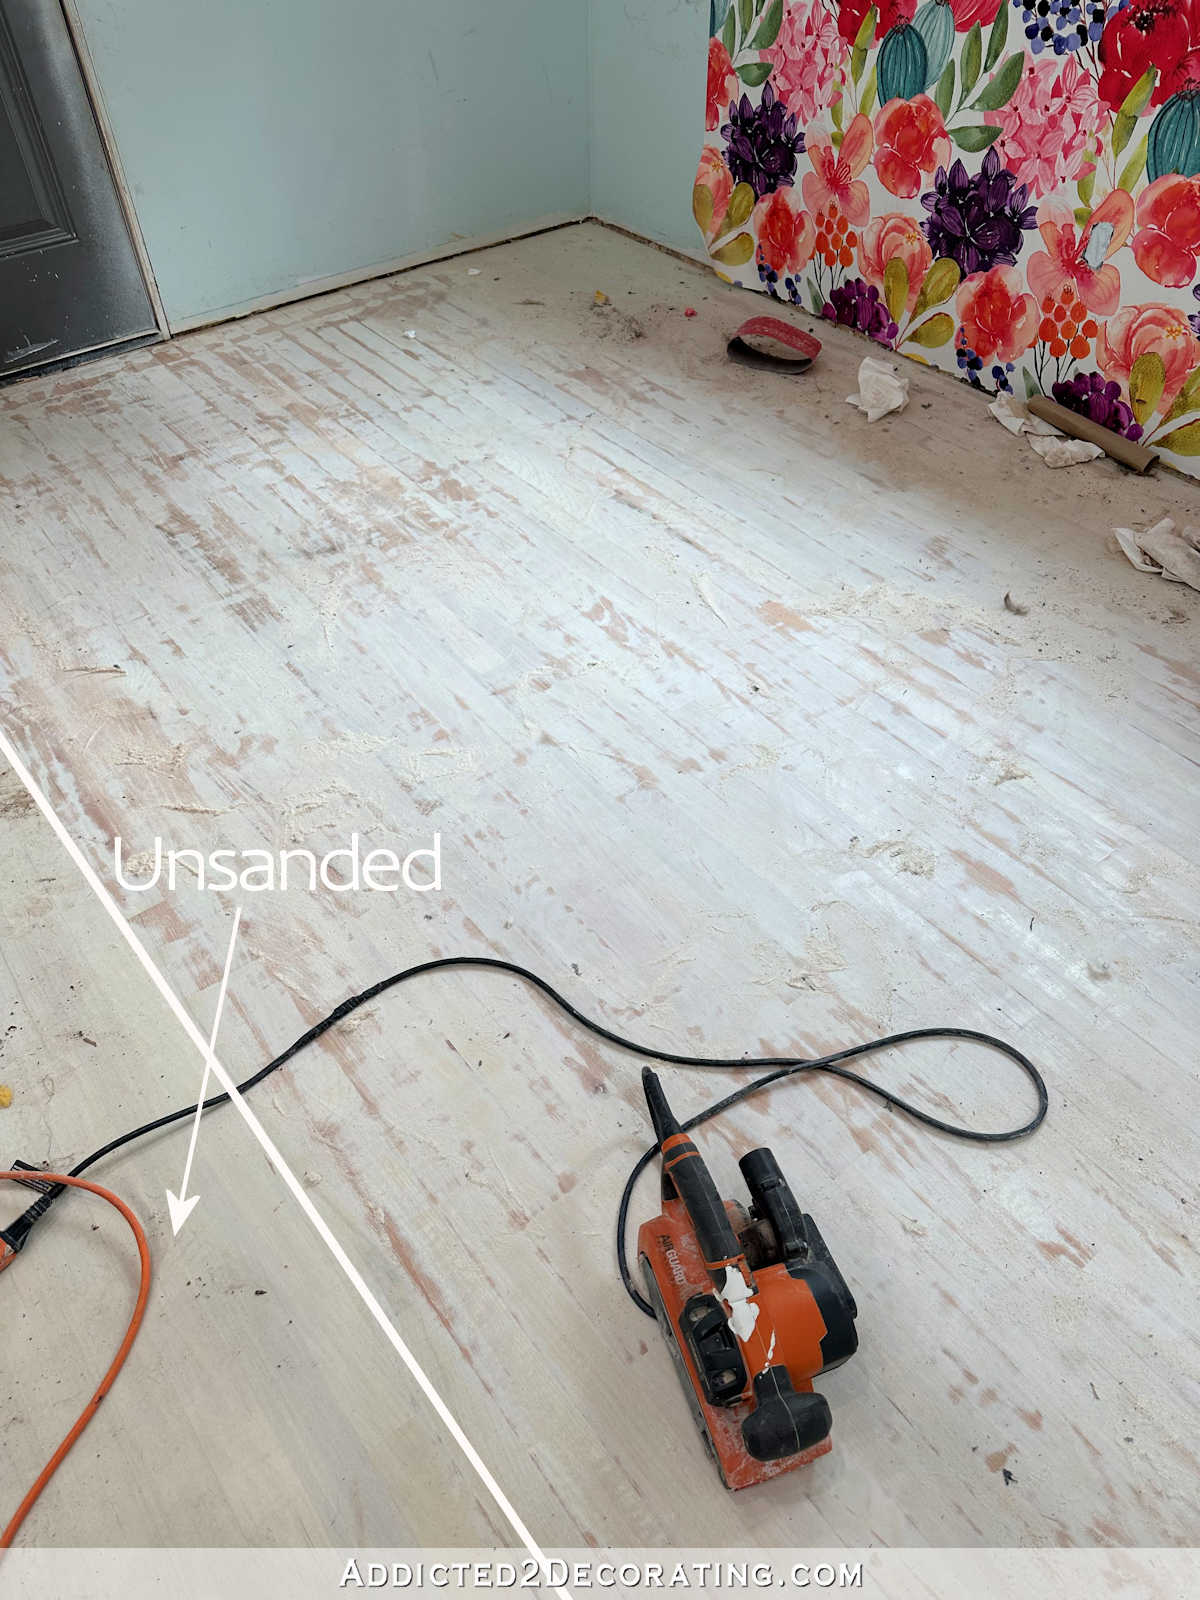
So it wasn’t until May 2023 that I decided to refocus on the studio and started redoing the floors. I hadn’t been careful with them and had been storing random things in the study, so the floor had stains. Plus, I really wanted to do a painted design. So in May 2023, I started working on the ground…

I also decided to use IKEA cabinets for the room, so I ordered and put them together.

And since I had decided to use IKEA cabinets, I discovered that all my electrical boxes had to be moved up several inches.

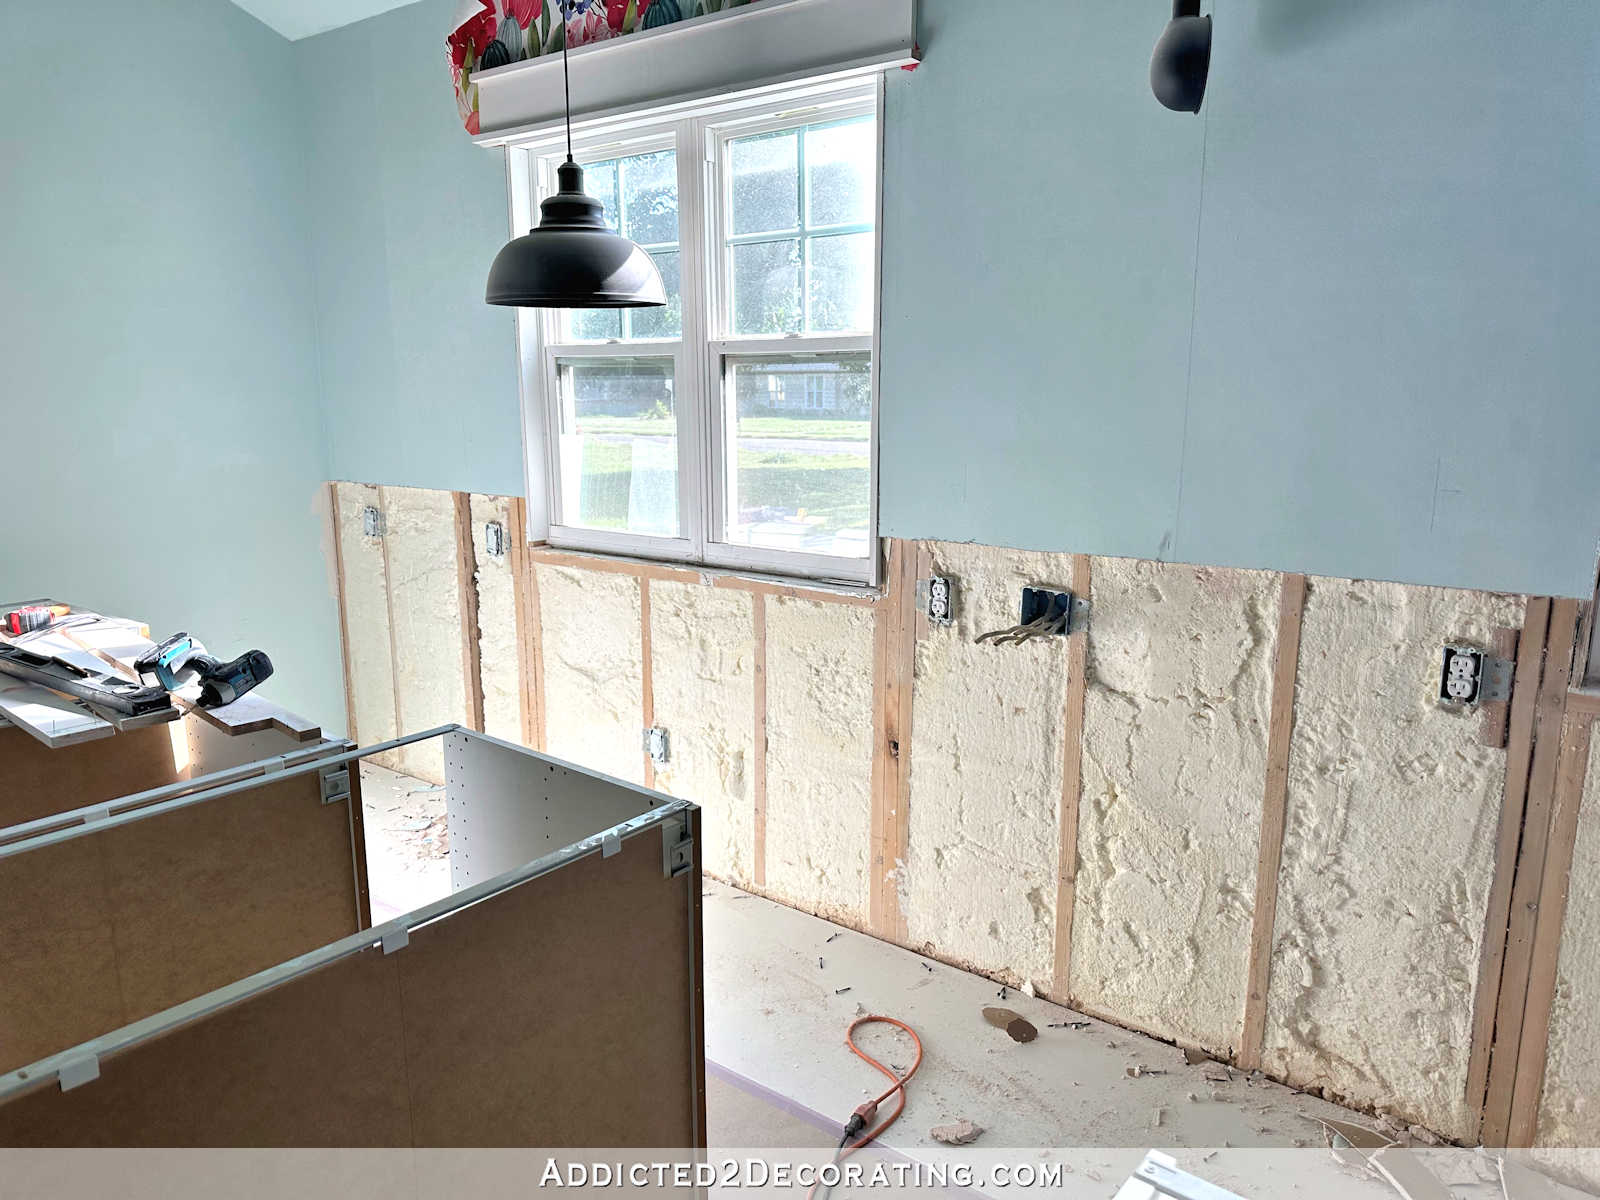
I finally installed all the new electrical boxes and put up the new drywall in July.


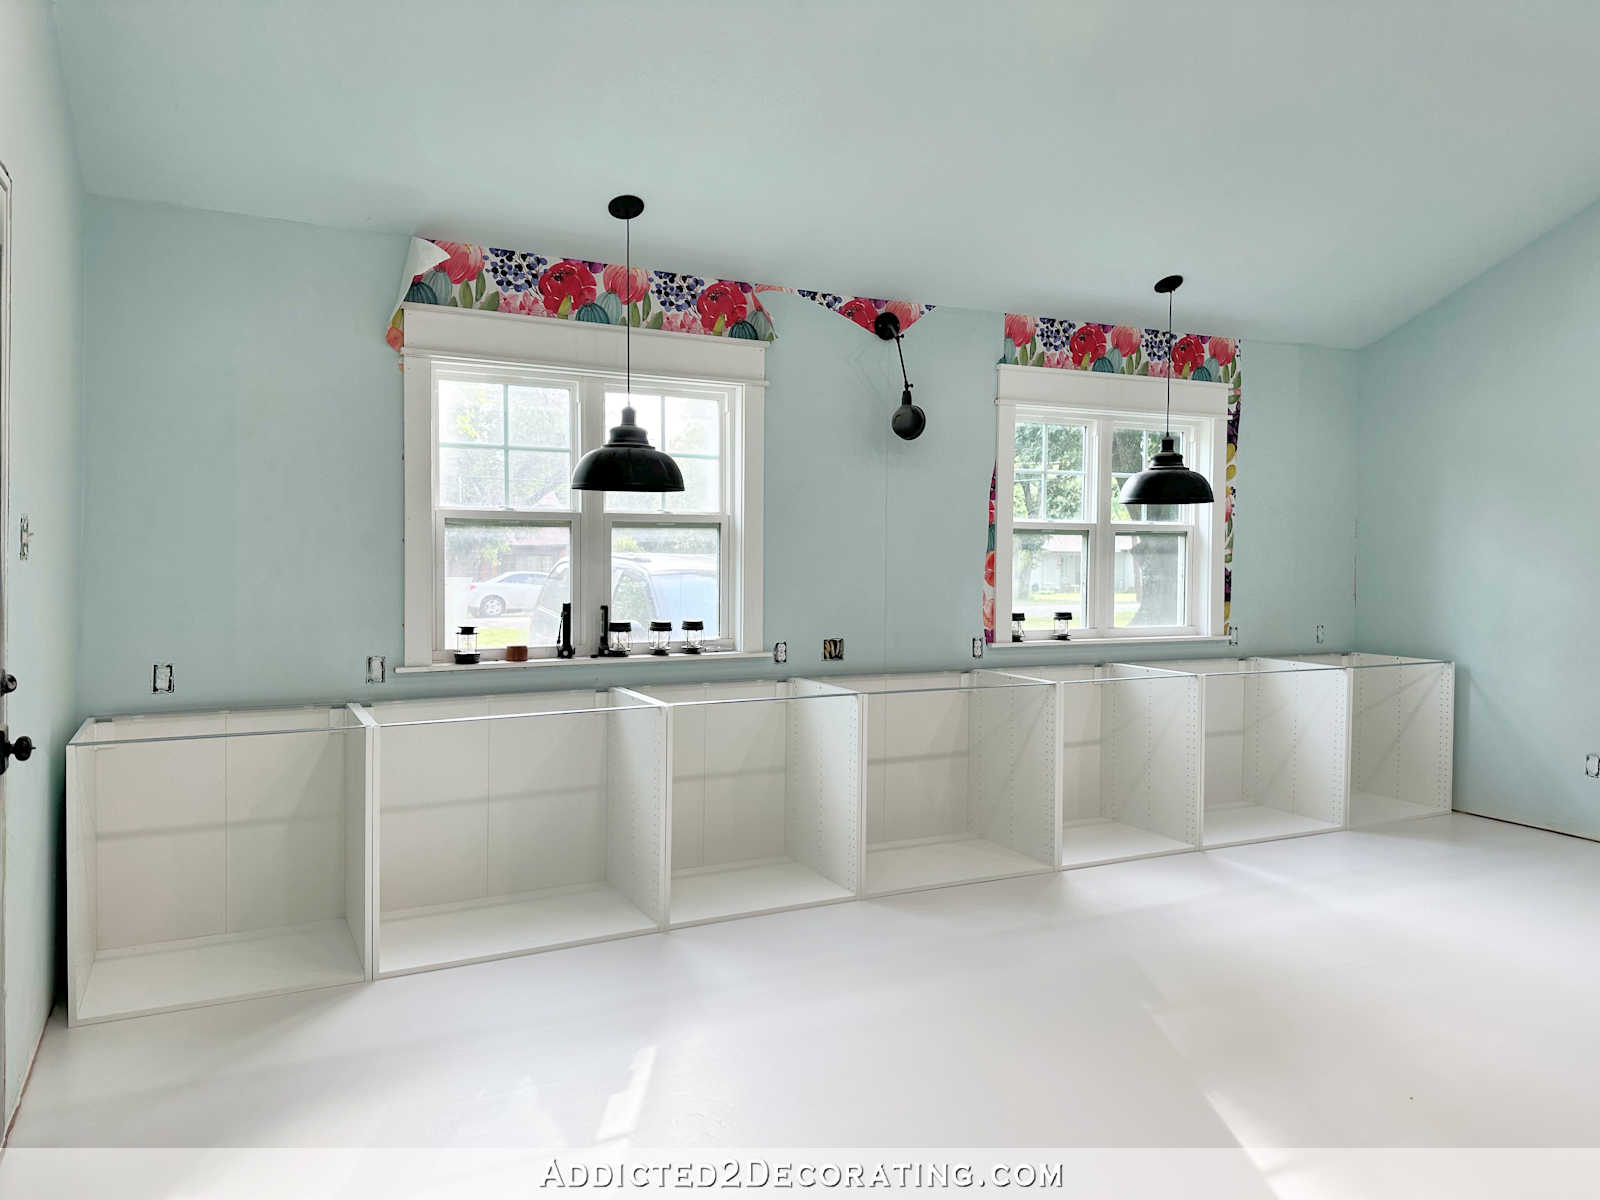
Also in July, I redid the wallpaper at a much larger size to create a more wall-like mural, and installed it before putting up the cabinets.


In August of last year, I also started installing the cabinets around the window in the office area of the studio.

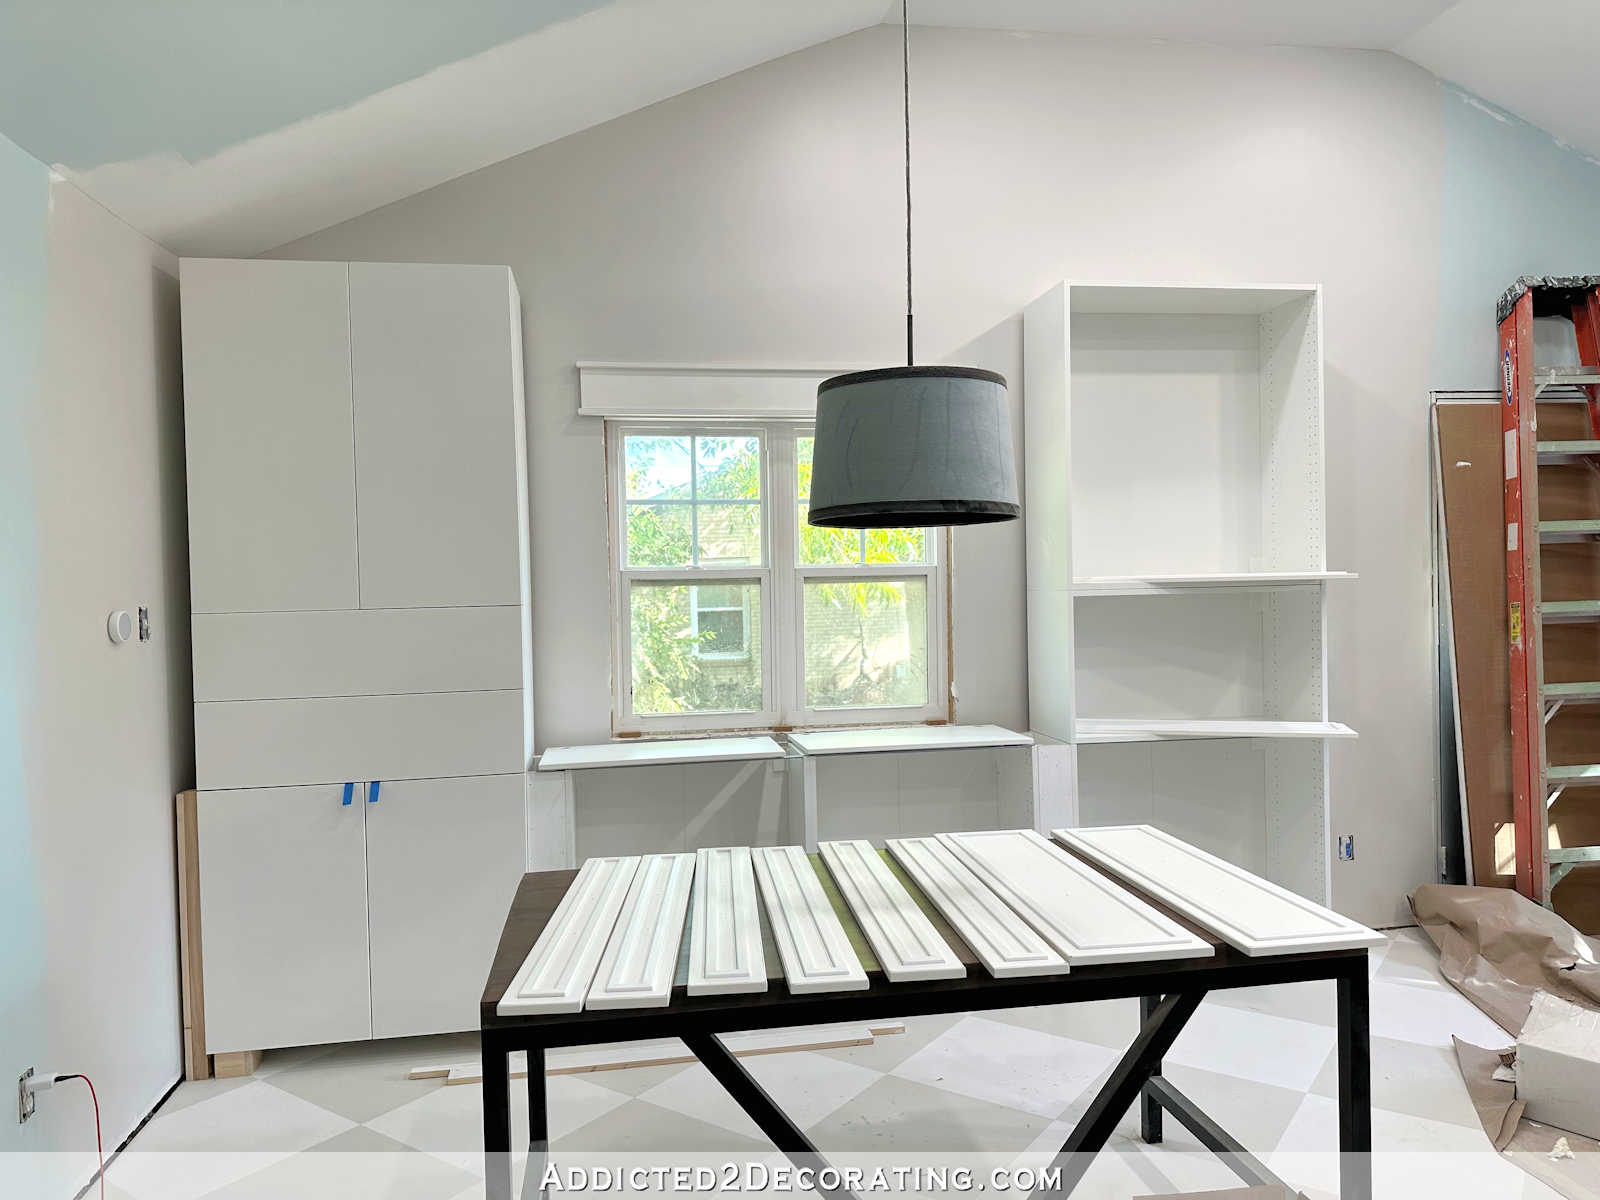
After finishing that wall, I turned my attention to the cabinets just inside the study door from the breakfast room.


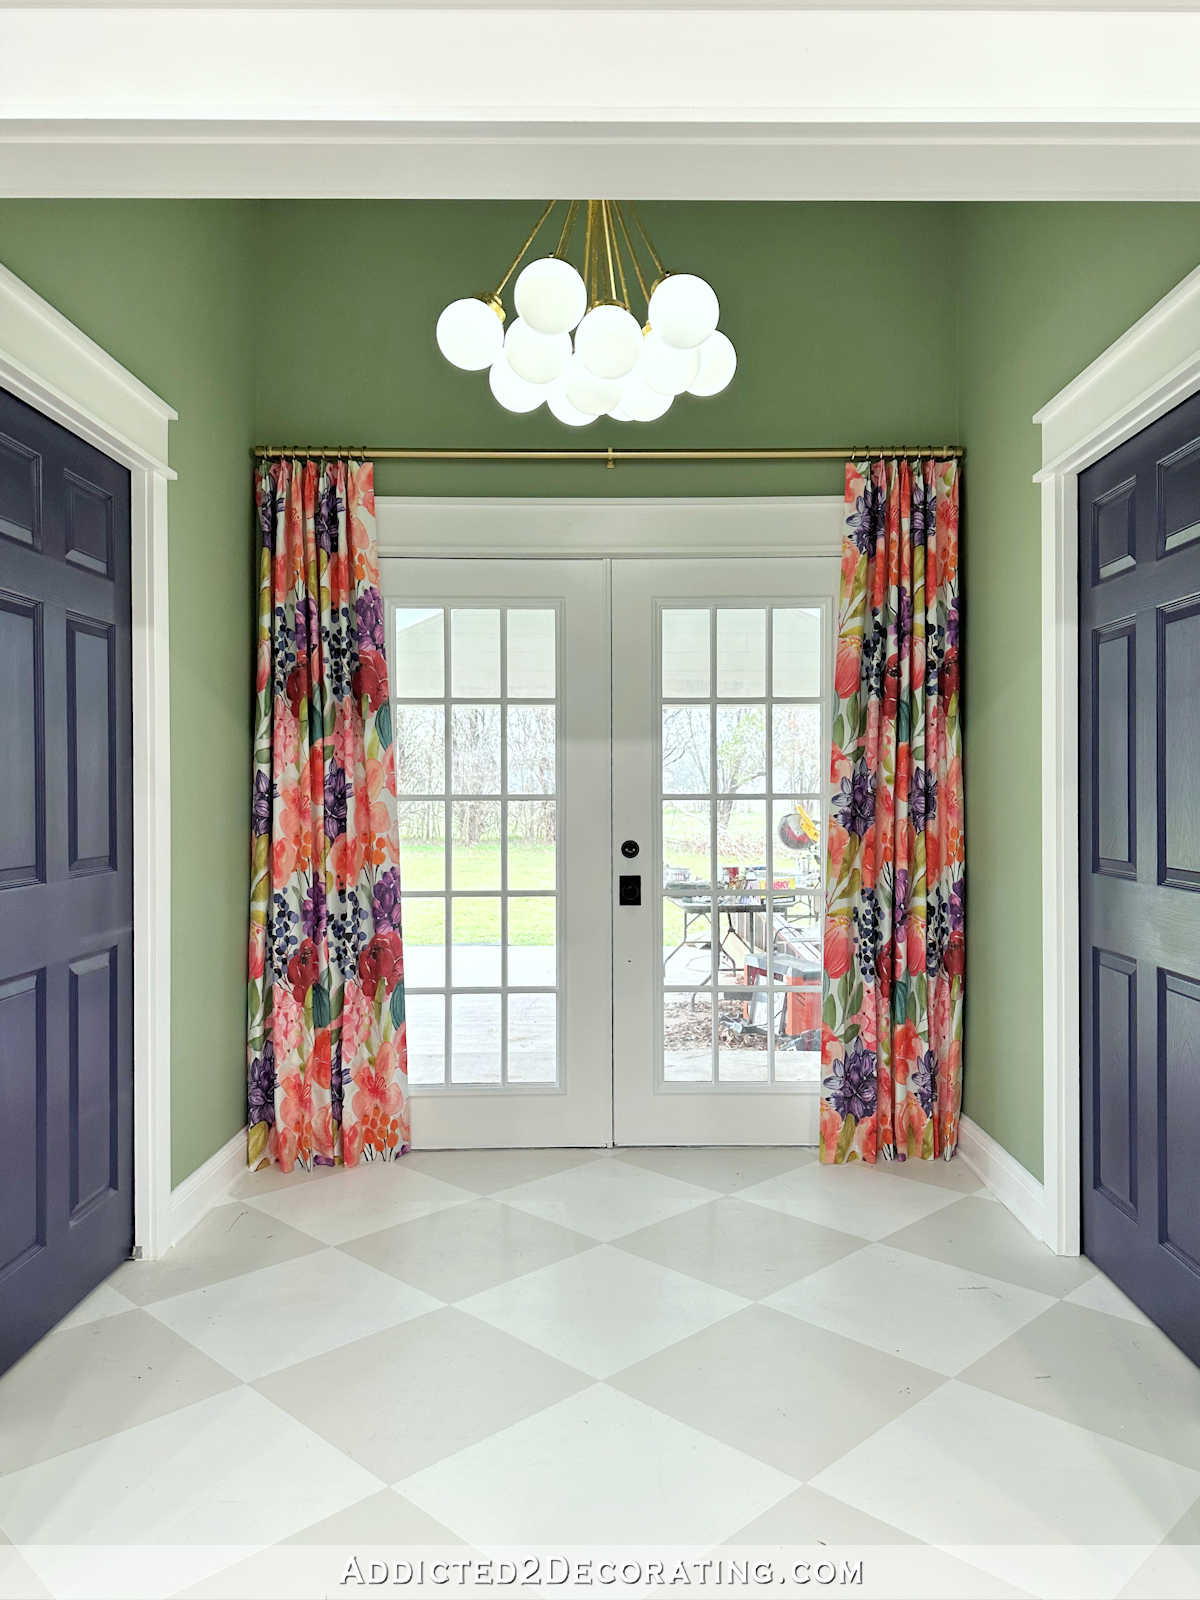
And then in February, I finished the rest of the projects in the back entrance.

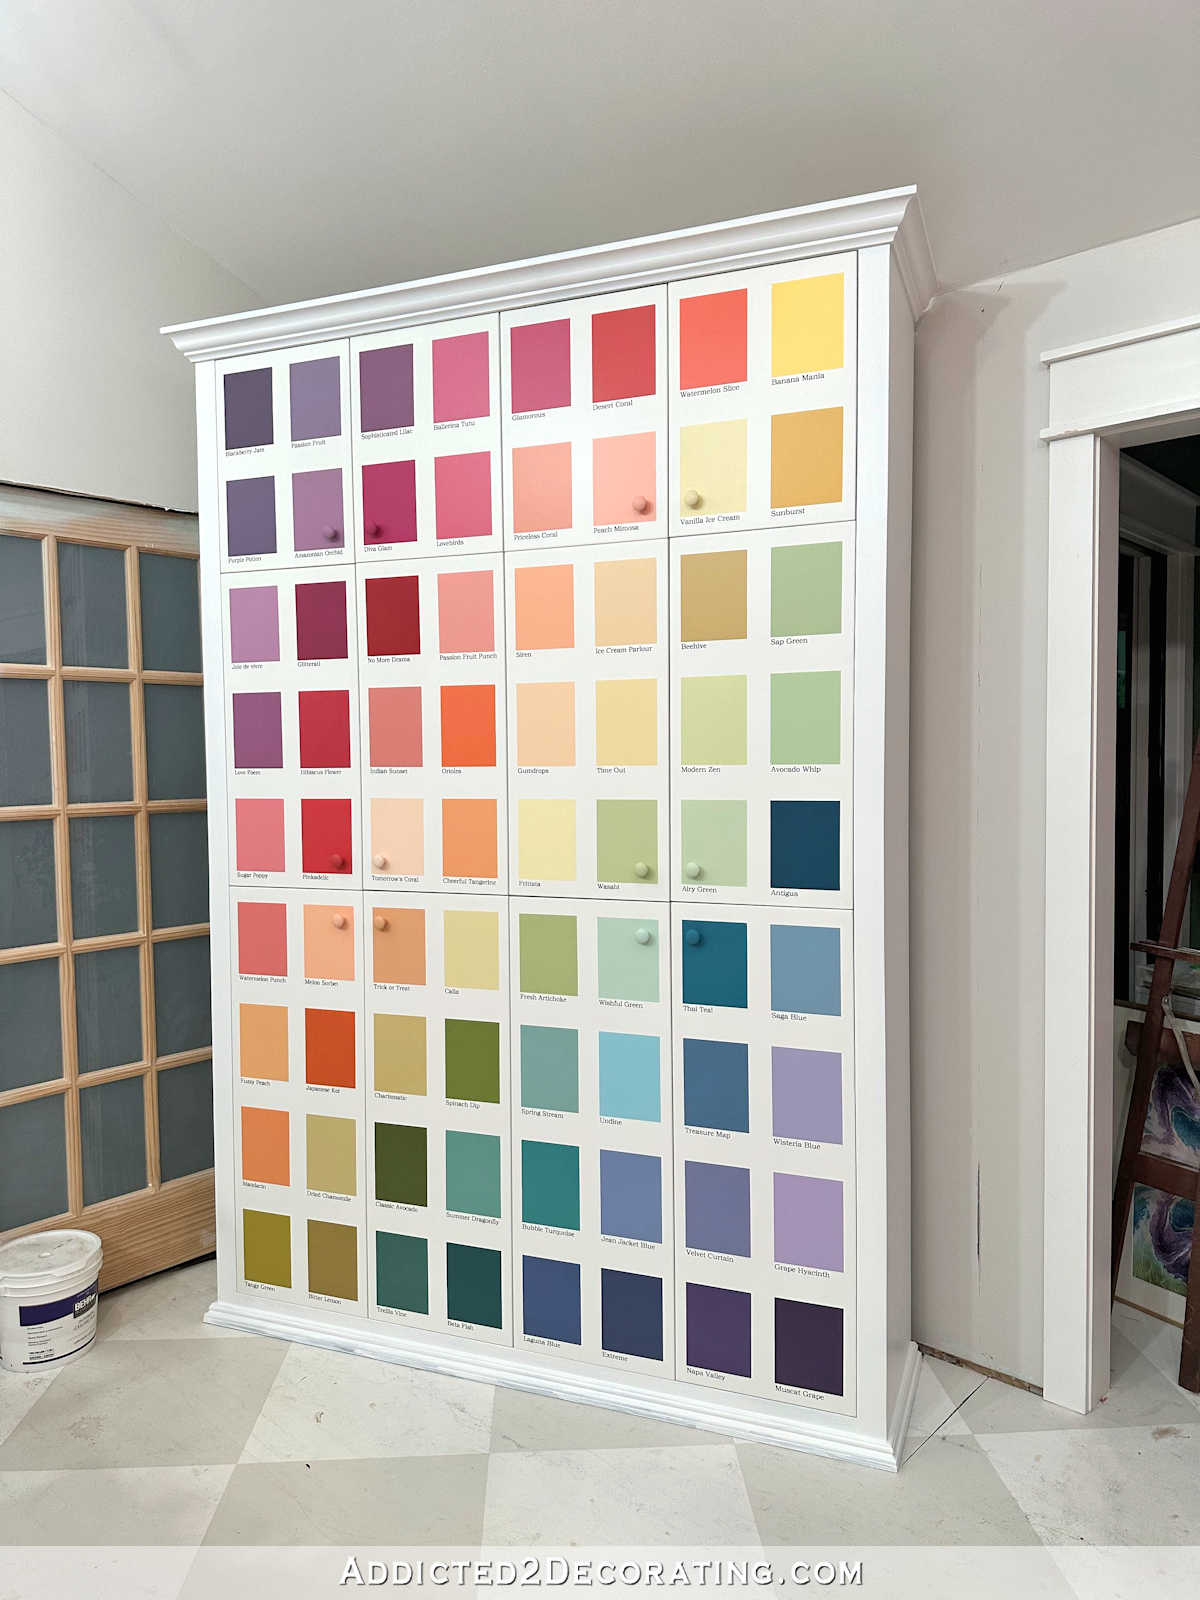
In April, I did a little makeover on the paint sample cabinets. I had originally painted the cabinets black, but decided they would look better in white to match the doors.

And then I finished the rest of the long wall with some spray-painted shelves, a frame for the TV (which I’ve now moved up a few inches), and a huge, colorful calendar.


Also in May I finished repainting the room (ceiling and walls), and I repainted the work tables from green to this eggplant color.


In July, I basically redid the desk so that it now has a more feminine look with a beautiful walnut veneer top.


And this month, October 2024, I finally finished the rest of the electrical work so that all my lights and outlets now work.


That’s the story of my studio from the beginning, and I can’t believe that this room, which has been in the works since summer 2017, is practically finished. I just have a few little things to do and the room will be ready! It doesn’t seem possible and I can’t wait to show you all the before and after photos of this room! Once again, I make no promises. I’d love to have photos for you tomorrow, but it’s taken all my self-control to sit at my desk while concrete work is being done right outside my window. So I might be a little distracted today. But they will take a photo of me and I will upload it as soon as possible. I promise!
Addicted 2 Decorating is where I share my DIY and decorating journey as I remodel and decorate the 1948 upper that my husband, Matt, and I purchased in 2013. Matt has MS and can’t do physical work, so I do most of the I work at home alone. You can learn more about me here.

")

