")
The first day we moved into our house 5 years ago, I decided we needed to change two things. In fact, after some thought, I decided we needed to change about 50 things (most of which are still in the works), but the two at the top of the list were the fences and the living room flooring. Five years later, we finally did both of those things, and oh my goodness, was it worth the wait!
It’s hard for me to put into words how much I love this floor. Yes (to be honest), it’s a PR product from Quick-Step. They’re a company I’ve worked with in the past and have been extremely impressed with. But I could (and have) raved about this floor to anyone who would listen. In fact, my next-door neighbors now have the same floor (with a different finish) in the same room and my father-in-law is going to be using it too. Basically, I’m the new Quick-Step salesman.

But seriously, there are a lot of reasons why I asked Quick-Step to work with me on this collaboration. I have their laminate flooring in Amber’s room, and honestly, it’s amazing quality. Every night I thank the Quick-Step gods as I quietly and soundlessly walk out of her room (unless I bump into something, which I might try to blame on Quick-Step, but we all know it was my job to put that toy away). It’s easy to clean (I love my Quick-Step spray mop… I know, it’s a bit much) and it’s super easy to install, which is great because I’m the one putting it up.

But anyway, back to the living room. This space is very well used. It’s what you’d call a high traffic area in the flooring world. I have the stroller parked here. I take off my shoes and boots and leave my wet coats on the floor. It’s a creative space with paint, water, clay, glue, and whatever else the kids have handy on the floor. All sorts of things are brought into the room from both ends of the house and many other accidents occur involving potty training, snacks, drinks, and God knows what else coming out of a toddler.

Basically, a family lives here and our house needs to be child-proof. And toddler-proof and all that. So I went back to Quick-Step to see what they could do. One product that caught my eye was the vinyl flooring. I had never considered using vinyl flooring before, but not only were the specs amazing, the installation seemed easy and most importantly, the wood effect of the panels was visually stunning. I chose Botanical Beige in Alpha Vinyl, which is a warm wood effect without the orange tones. It’s textured so not only does it look more realistic, but it’s also not too slippery for all that indoor running around that seems to happen every night right before bed (just us?). And it also holds up well to water and spills (which of many, many, many things). many Experiences that I can confirm). This apartment has it all!
Once I had the floor sorted and managed to organise a weekend of activities for the kids outside the house, we moved as much furniture out of the room and pushed the rest into the corner. This would be the last place we would put the floor, so it was easy to work around. With this vinyl floor, there is no need to put down an underlay, but I chose to put it down to add another layer on top of the concrete floor. I hope it will have an insulating effect during the winter and keep the floor warmer.
-

Before -
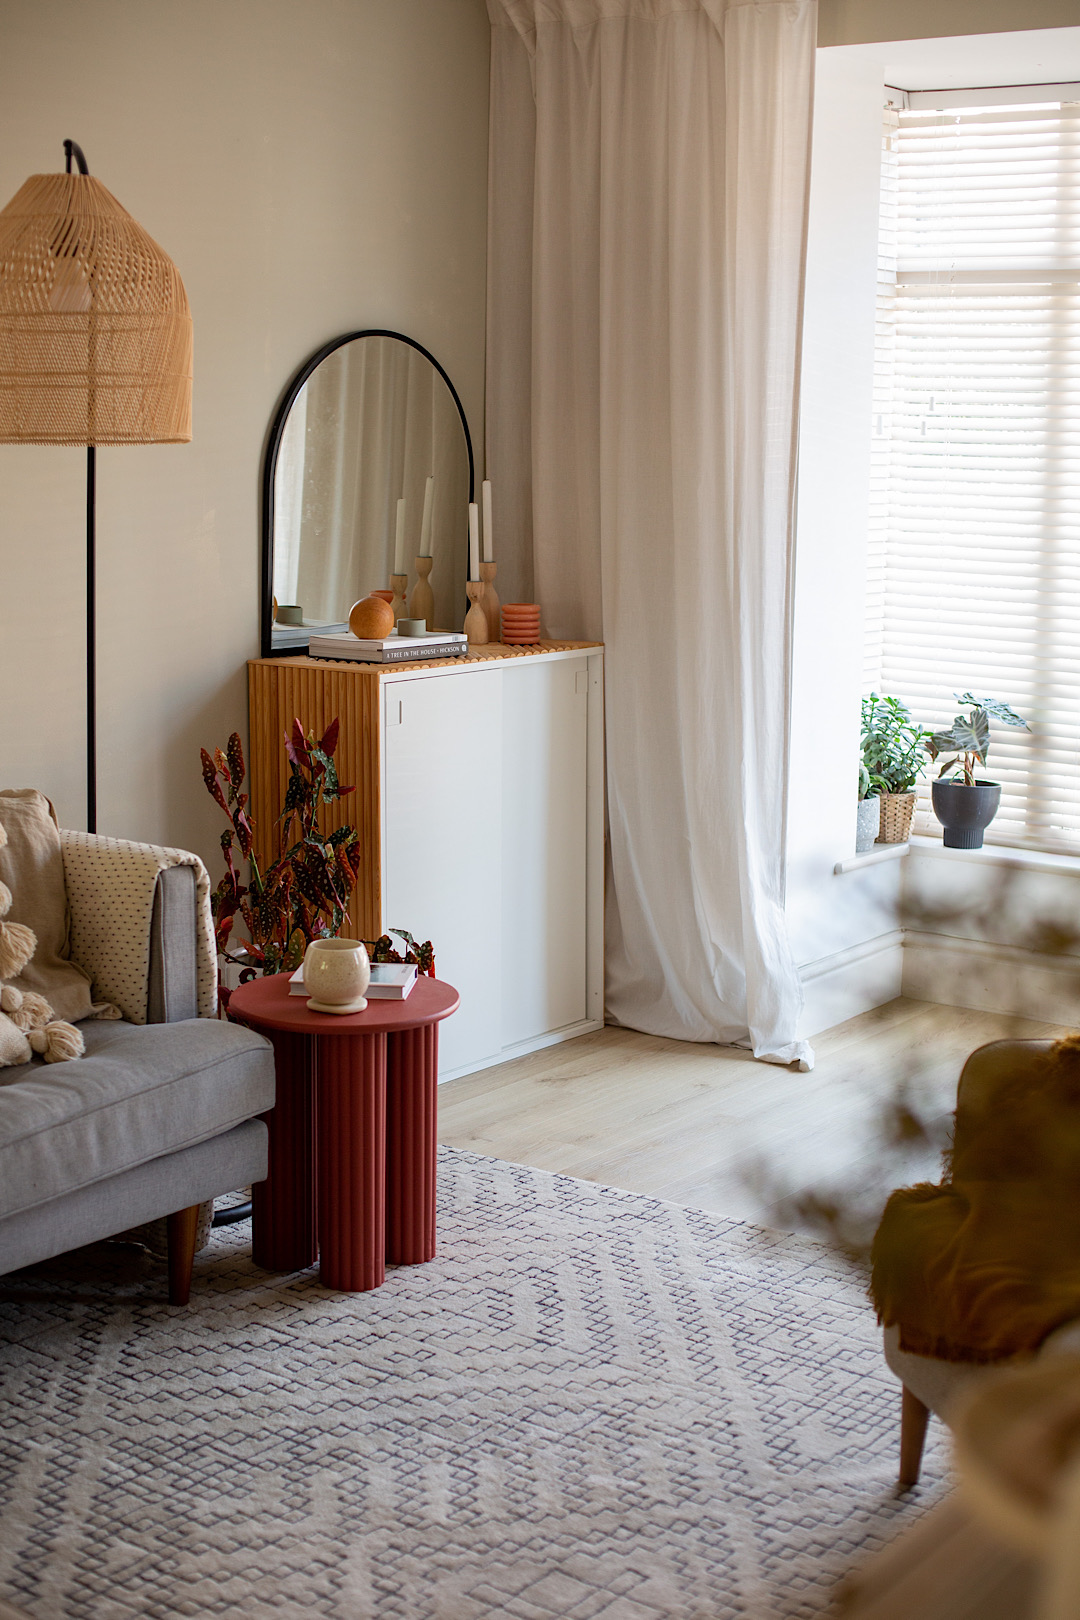
After


Then it was time to lay the floor. So, to be honest, I read the instructions, thought I knew better, and got started. After the first couple of rows, Quick-Step tells you to kneel on the floor you’ve laid, place each plank in place, and pull it towards you. But I didn’t really think I was going to have the strength to do it this way. I found it more intuitive to push the plank into place. Well, after struggling for a few rows, I decided to try their way… And yes, surprise, surprise, QuickStep knows what it’s doing. It was much easier this way. The planks fit together easily with minimal effort. There’s a trick, but there’s always a trick. Once you get it down, the floor goes down really fast!

When I got to the end of each row, I used my jigsaw to quickly cut the last piece to the correct size. It took me two days to lay the entire floor, and I’m sure that without the interruptions of the kids and having to move furniture around, I could have done it in one.
I removed the skirting board from most of the room, cleaned it, sanded it, and nailed it back into place. But on one side of our house, the gas pipe runs inside a larger, square skirting board. I wasn’t going to waste time removing it and possibly hitting a gas pipe. But luckily, Quick-Step has the solution for this too!
They have a product that is the transition/threshold strip, Scotia, profile, stair edge cover all in one. You can easily trim it to whatever application you need. I have a video on this coming soon on Instagram so follow me there if you’re interested. Again, this is incredibly easy to install. I used a simple miter saw to cut the joints at a 45º angle – along the straight sections this means they sit together without showing a gap. At the corners, I cut the angle at 45º again, but this time opposite each other to create a miter joint.

Now that we have lived with the floor for a few months, I am still thrilled with it. So much so that I am planning to remove the engineered wood flooring in our kitchen and replace it with this vinyl flooring, at my own expense. It is now such a perfect maintenance for a kitchen and I know I will be able to keep it cleaner and looking much better than the rather deplorable look of our kitchen floor right now. Fingers crossed that I will be able to share this again very soon!

")

